This article was written by a guest blogger.
I recently bought a house from a nice man who, just after the settlement meeting concluded, confessed that the 15-year-old front-loading clothes washer in place under my kitchen counter didn’t work. He wanted to replace it for me, but the model had been discontinued, and he couldn’t find a new washer that would fit in the space. He kept coming by to drop off spec sheets for new machines that were close in size, but all were too tall and would require major surgery to install. I surfed Craigslist for a washer that would fit and—miracle of miracles—I found a listing for the exact make and model I needed, never used and still in the box.
The former owner of my house and I conjectured over the possibility of divine intervention. Why else would someone keep such a new machine in storage for so long? Did the Craigslist seller win the machine on a game show, then find they had no use for it? Or buy it for a home renovation project that never came to fruition? I suppose that there are lots of possible scenarios that could’ve led to my lucky find, just as there are plenty of good reasons not to dispose of something valuable just because you can’t use it at the moment.
The real question is: How do you prepare and store machines like my vintage washer to keep them in shape for when you—or someone like me—can use them? The answer: It depends on what type of home appliance it is.
Getting Home Appliances Ready for Storage
Depending on what you’re planning to store, it’s important to follow the right steps so that your household appliances not only work when you take them out of storage, but that nothing will happen to them while they sit idle.
How to Prepare Washing Machines & Clothes Dryers for Storage
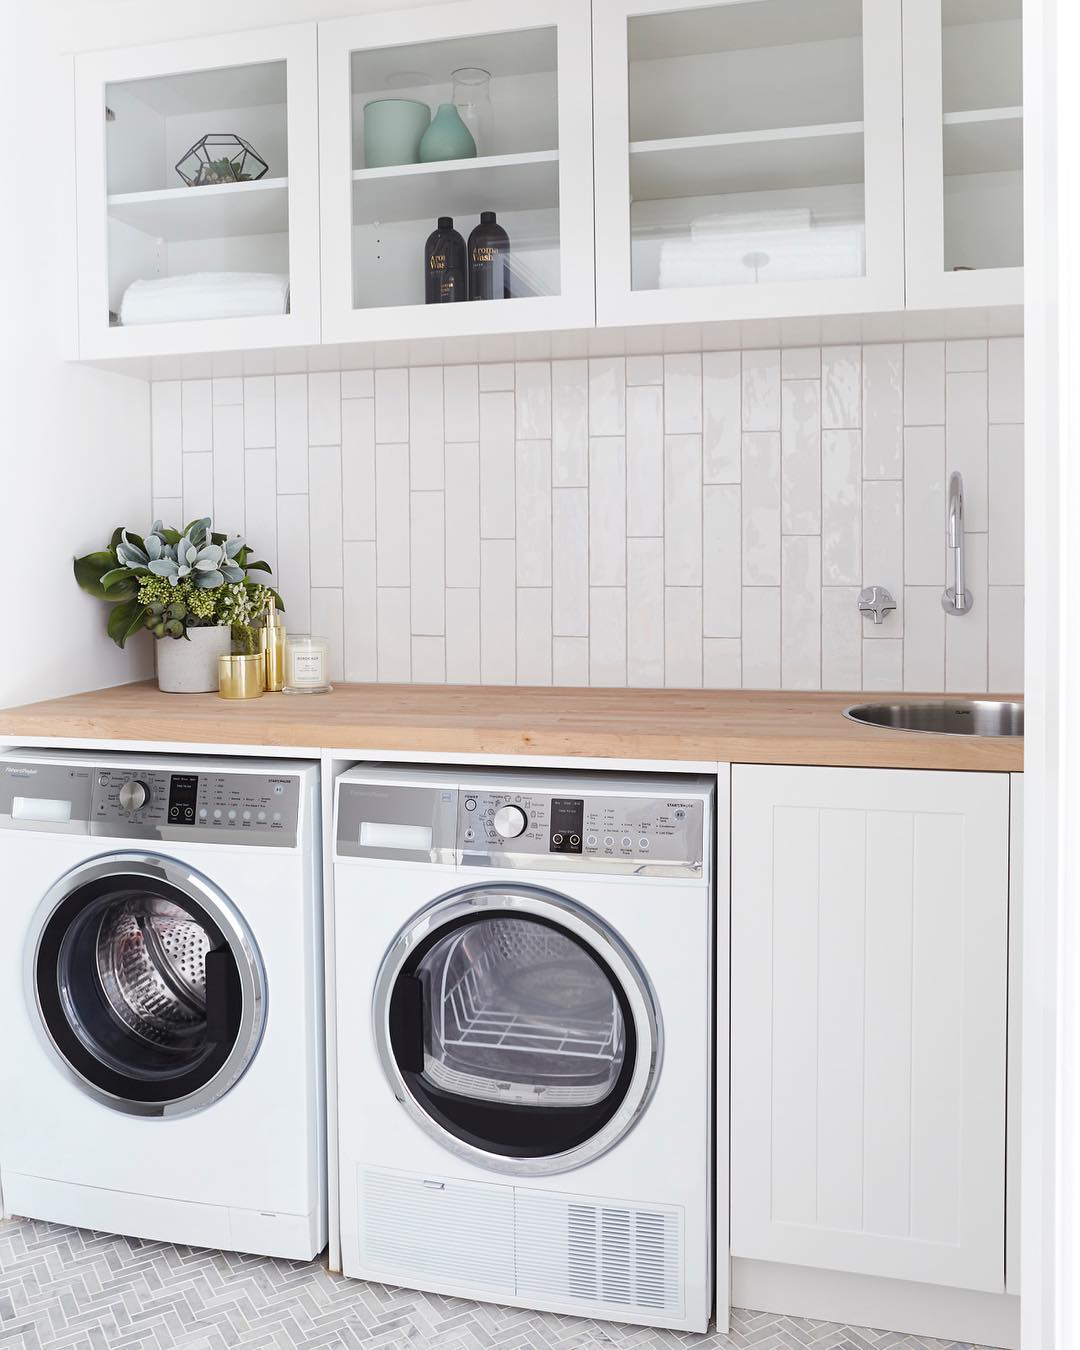
Photo via @threebirdsrenovations
Washing Machines
- Set the water temperature to HOT, add bleach or white vinegar, and run the machine through a REGULAR WASH cycle without laundry in the tub.
- After the cycle is completed, leave the loading door open for at least 12 hours to ensure complete drying of the tub.
- Unplug the power cord, coil it neatly, and tape it out of the way inside the washer cabinet.
- Shut off both water supply valves by turning them counter-clockwise.
- Disconnect the water supply hoses from the valves and then from the back of the machine. Drain them fully, then coil them up and place them in the washer tub.
- The drain hose may either be connected to a P-trap in the wall or hooked over the edge of the laundry sink; disconnect the drain hose from the receptacle.
- Clean the exterior of the washer as thoroughly as possible. Use a vacuum to remove dust and dirt that may have accumulated at the back and underside of the machine. Clean the finished surfaces with rags and a household cleaner.
- Pack the area around the outside of the tub with blankets or towels to immobilize it.
Clothes Dryers
- Disconnect the dryer power cord, coil it neatly, and tape it to the dryer cabinet.
- Disconnect the dryer vent duct from the back of the machine.
- For a gas clothes dryer, shut off the gas supply valve by turning the handle perpendicular to pipe to which it’s fastened. You should find the valve at the end of a yellow brass tube that connects the dryer to the supply pipe
- If you don’t find a shut-off valve near the dryer, you must turn the gas off at the main, which you should find near the gas meter.
- Check for leaks around the shutoff valve by brushing soapy water onto the joints. If you see active, moving bubbles, the assembly is leaking and unsafe. (If you have any doubts about how to turn off the gas or the integrity of the shut-off valves, have a licensed plumber disconnect the dryer.) After disconnecting the brass connection tube from the supply line and from the back of the dryer, coil it up, and place it in the dryer drum.
- Wipe the inside of the dryer drum clean with rags and household cleaner.
- Clean out the lint filter thoroughly and vacuum up all lint and dust.
- Pack towels, rags, or other crushable material around the outside of the dryer drum to immobilize it during transit.
How to Prepare Dishwashers for Storage
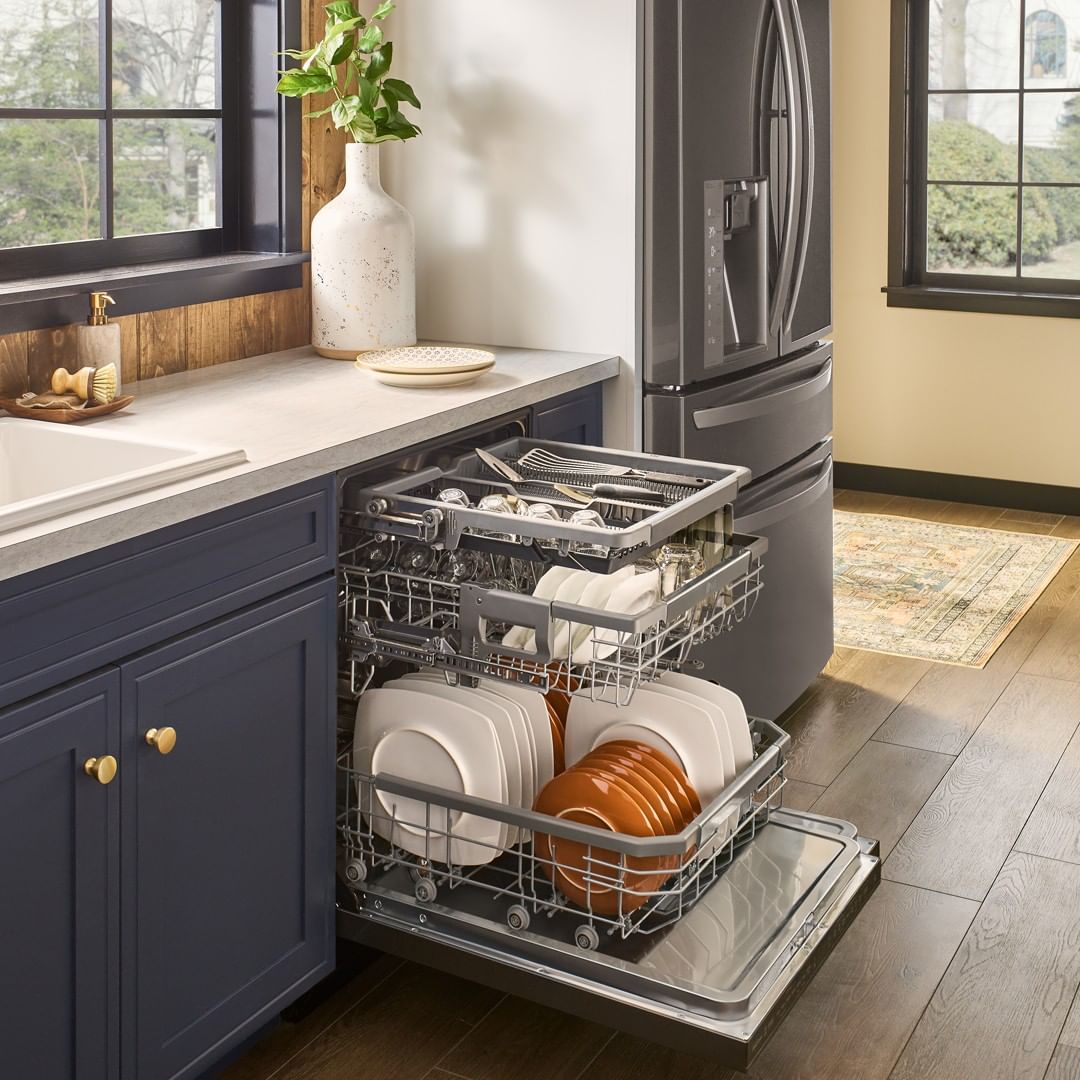
Photo via @lgusa
- Fill both detergent cups with baking soda. Select a REGULAR wash cycle and let the dishwasher fill with water, then add a cup of bleach to the water in the bottom of the tub and run the dishwasher to the end of the cycle.
- Remove the filter from the bottom of the tub and clean it with water and detergent. Also, clean the filter thoroughly.
- Shut off the water supply to the dishwasher and set the control to DRAIN. After it runs through the drain cycle once, repeat it to remove all of the water.
- Clean the gasket around the door with a baking soda/water solution and a brush to remove food particles and mildew.
- Leave the door open for a day or two to allow any remaining water to evaporate.
- Unplug or disconnect the dryer from the power supply.
- Disconnect the water supply and drain hoses from the machine, and drain them completely. When you’re sure they’re dry, coil the hoses up and place them inside the dishwasher.
How to Prepare Refrigerators for Storage
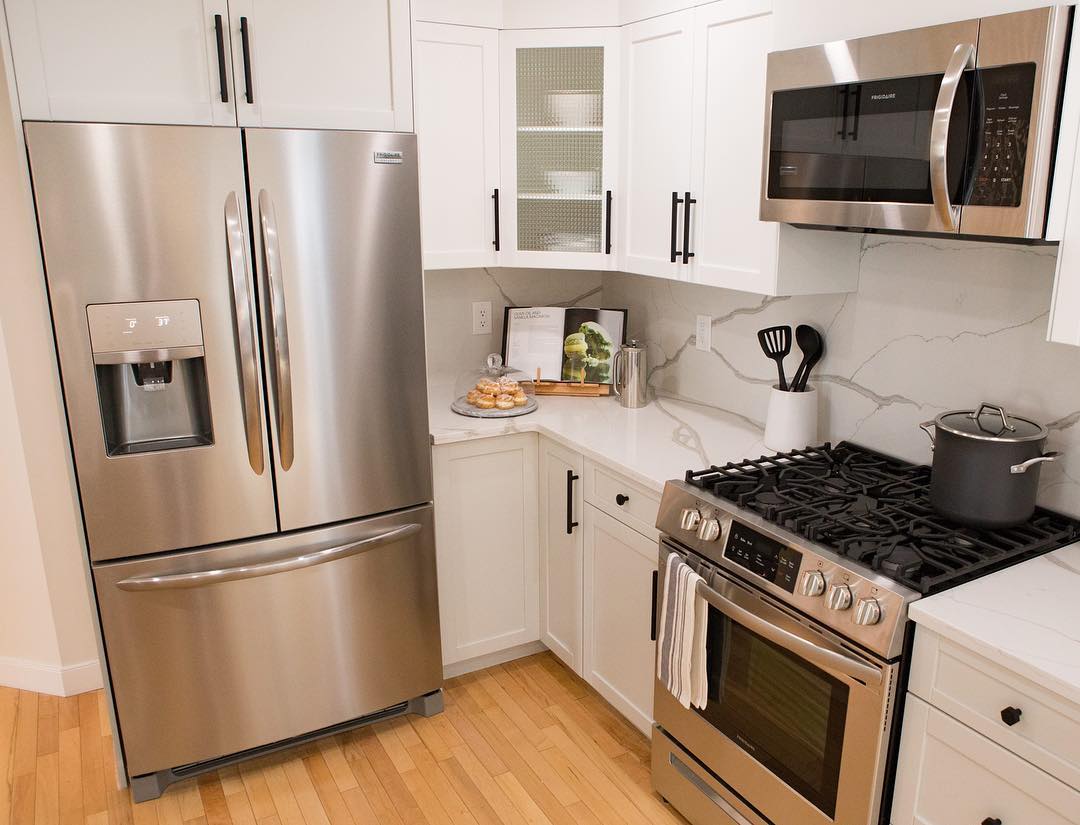
Photo via @propertybrothers
- Remove all food from the refrigerator and freezer compartments.
- If an icemaker is present, set the switch to OFF and empty the ice bin. Defrost the freezer.
- If a water dispenser is present, shut off the valve at the supply and disconnect the tube. Drain water from the holding tank.
- Unplug the refrigerator, coil up the wire, and tape it to the side or the back of the cabinet.
- Vacuum up as much dust as possible from the motor, compressor, and other parts that you can access from the back of the machine.
- Clean food particles and mildew from the door gasket with a brush dipped in a bleach solution.
- Clean all interior surfaces, shelves, and drawers with a baking soda/water solution. Dry them thoroughly.
- Wrap glass shelves in towels or blankets, and stack them in a secure location inside the refrigerator so they won’t shift or break in transit.
General Rules for Moving & Storing Appliances
Most major household appliances are pretty sturdy and stand up well if they’re stored in a clean, dry place with a temperature range above freezing up to about 100 degrees Fahrenheit. This is to say that if you’re storing machines in a location prone to extreme winter or summer weather, they’ll be better off in a climate-controlled space. Whether you opt for an ideal self storage facility or not, keep the following in mind when packing up and storing appliances for extended periods.
- Tape doors shut to prevent them from moving during transit. But after setting them in storage, prop the doors open to prevent trapping moisture and allowing mildew and odors to form.
- Wrap appliances with blankets to protect their finishes during transit and in storage.
- Spray appliances and the storage area itself with insecticide and/or rodent repellent to prevent possible infestations.
One Last Home Appliance Storage Tip
My Craigslist washer arrived in great shape after untold years in storage. The hoses and small parts were all included, wrapped in the manufacturer’s packaging, so I was able to install the machine in a matter of minutes. Then, I started it up for a test run. Everything seemed in working order until we got to the spin cycle, when my kitchen started shaking like the walls of Jericho. Before anything came tumbling down, I turned off the machine and searched frantically for the installation instructions, which, in my haste, I’d discarded with the packing materials.
Right there at the top, it said: “REMOVE THE PACKING BOLTS THAT IMMOBILIZE THE DRUM TO PROTECT IT FROM DAMAGE DURING TRANSPORT BEFORE OPERATING THE MACHINE.” So I did, and I’m relieved to tell you that the machine wasn’t damaged in spite of my habit of only reading instructions as a last resort.
I’d hoped I could use this someday to infuse my how-to writing with my extensive personal experience—so here it is. When you pack up major appliances for long-term storage, be sure to include the owner’s manual.
Michael Chotiner is an expert in home improvement who writes about DIY and appliances for The Home Depot. With a background as a cabinetmaker and general contractor, he has done many kitchen renovations that included appliances, such as refrigerators, ovens, and dishwashers. The Home Depot’s appliances, including the complete selection of dishwashers, can be found on the The Home Depot.