Vehicle Storage
12 Steps to Protect Your Classic Car in Storage

Read Time: 5 min read
Summary: Preparing a classic car for storage requires attention to protection and preservation. Review insurance and choose a climate-controlled, indoor unit with a plastic vapor barrier. Thoroughly clean and wax the exterior, detail the interior, and leave baking soda to absorb odors. Wash and inflate tires to recommended PSI, change oil and filter, and fill the tank with stabilized fuel. Cover the tailpipe, disconnect or remove the battery (use a tender if left connected), and use wheel blocks or jack stands to prevent flat-spotting.
Whether you're planning to store your classic car for the winter or looking for a long-term car storage solution, you want it to look as beautiful coming out of storage as it did going in! Because your vehicle is older, it requires maintenance to preserve its vintage appeal and avoid corrosion. Keep these 12 steps in mind as you prepare to store your classic car.
Things You'll Need
Plastic sheet or tarp
Cleaning products
Car wax
Lubricant
Microfiber towel
Vacuum
Baking soda
Tire pressure gauge
Oil and oil filter
Fuel stabilizer
Wheel blocks
Car cover
Step 1: Evaluate Current or Obtain Classic Car Insurance
Storing your classic car is the perfect time to review your specialty insurance policy—or secure one if you haven’t already. Because most self-storage facilities strictly require proof of active coverage before move-in, keeping your policy up to date is mandatory. When researching options, keep in mind that classic cars appreciate in value over time, unlike standard vehicles.
Step 2: Find the Right Storage Space
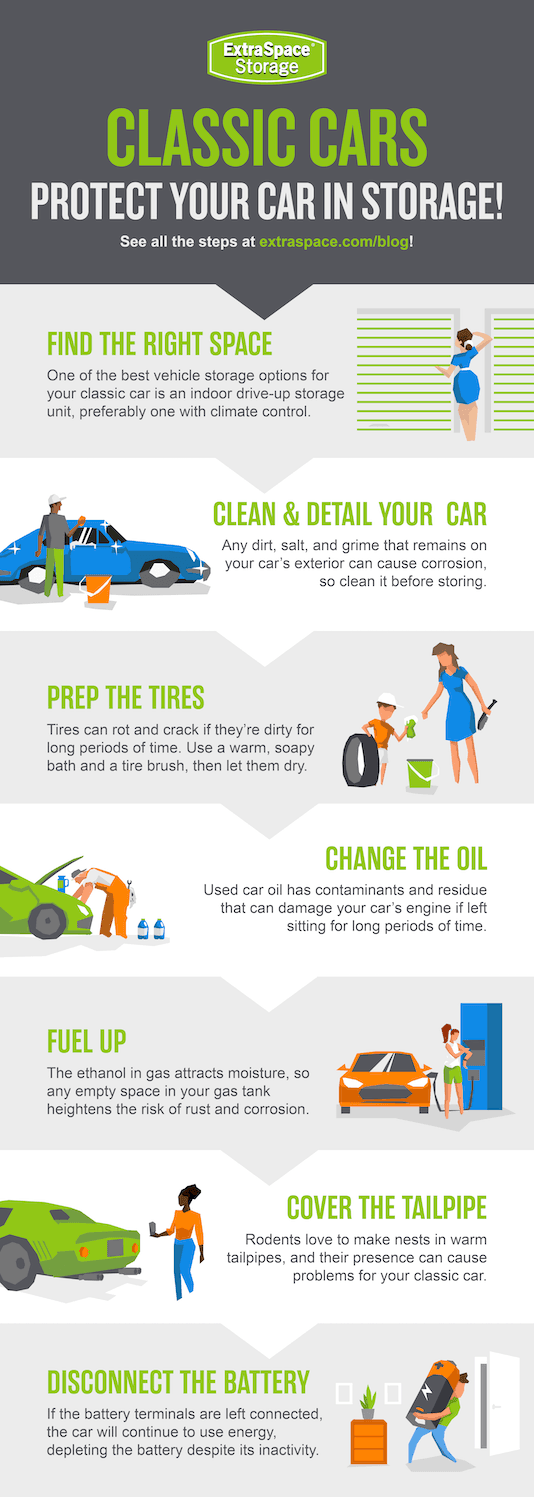
One of the best classic car storage options is an indoor drive-up storage unit, preferably one with climate control. Storing your vehicle in a climate-controlled space is crucial because it helps prevent rust, cracking, and long-term damage to fragile leather or vinyl. Once you find the ideal unit, cover the floor with a sheet of plastic to serve as a vapor barrier, preventing moisture from reaching the underside of the car.
Step 3: Clean the Exterior & Detail the Car
Any dirt, salt, or grime that remains on your car's exterior can cause deterioration, so it's important to wash your classic car thoroughly before it goes into storage. Apply a coat of protective car wax, preferably a liquid-based one. Lubricate door and hood hinges so they don't jam up in your absence. If you own a vintage convertible, store it with the top up to prevent the fabric from shrinking.
Step 4: Tidy Up the Interior
One of the most overlooked tasks in vehicle storage is cleaning the car's interior. Any crumbs or scraps left on the floor or between the seats are a welcome sign for pests, and dust and dirt can cause long-term damage. Avoid these issues by carefully vacuuming your car, cleaning all surface areas with a microfiber towel, and shaking out the floor mats. Preserve your vinyl, plastic, and leather surfaces by wiping them down with a conditioner or treatment. Finally, leave a box of baking soda inside to absorb unwanted odors that can develop over time.
Step 5: Prep the Tires for Long-Term Storage
Tires can rot and crack if they're left dirty for long periods. Use a warm, soapy bath and a tire brush to wash away dirt and brake dust from your classic car's tires, then let them dry completely. Check tire pressure and fill all tires—including the spare—to the recommended PSI, which can be found in the driver's manual or on a placard on the driver's side door behind the seat. When stored in the right conditions, tires can last up to five to ten years in storage.
Step 6: Change the Oil
Used car oil contains contaminants and residue that can damage your car's engine if left sitting for long periods. This can be especially detrimental to classic cars, particularly those with original engines. Change the oil in your vintage car—double-check that you're using the right kind—then take a short drive to let it circulate for a few minutes. This helps introduce the oil to the car's system and prevents corrosion. This is also a good time to consider checking and replacing your vehicle's oil filter.
Step 7: Fill Your Gas Tank
The ethanol in gas attracts moisture, so any empty space in your gas tank heightens the risk of rust and corrosion. Drive your classic car until the tank is nearly empty, then fill it completely. If you're storing your car for the winter, add a fuel stabilizer to prevent the fuel from hardening and turning to gunk. In addition, top off the coolant to ensure the engine doesn't freeze during cold months.
Step 8: Cover the Tailpipe
Rodents love to make nests in warm tailpipes, especially in winter, and their presence can cause issues for your classic car. Keep them out by covering your tailpipe or stuffing it with a ball of steel wool. Just don't forget to remove the plug when you take your car out of storage! Leave yourself a reminder with a note on the steering wheel or a brightly colored flag or ribbon on the tailpipe.
Step 9: Disconnect or Remove the Battery
The last thing you want is for your car's battery to die while it's in long-term storage. If the battery terminals are left connected, the car will continue to draw power, depleting the battery even when it is inactive. Disconnect the battery and hook it up to a battery tender or trickle charger. If you're storing your car for a long period of time, also consider removing the battery entirely, as battery acid leaks cause extensive damage to car engines. If the battery starts leaking and you don't check it for several months, the results could be catastrophic for your classic car. Once the battery is removed, take it home and store it in a controlled, dry environment. When you're ready to take your car out of storage, recharge the battery first.
Step 10: Utilize Wheel Blocks & Jack Stands
You want to make sure your car doesn't move for any reason, but using the parking break for long-term car storage can cause the wheel pads to stick to the rotors. Instead, use wheel blocks to keep the pressure off of your vintage car's suspension, increasing its longevity and effectiveness. Use wheel chocks or jack stands to alleviate pressure on the tires during long-term inactivity.
Step 11: Cover Your Classic Car
An extra layer of protection never hurts, and a car cover helps keep out dirt and dust wherever you store your vehicle. Look for a custom cover for your classic car made from breathable material that won't trap moisture and create condensation. The inside of the cover should be made from a soft material that won't damage the car's surface or paint.
Step 12: Check on Your Car Periodically
If possible, it's ideal to check in on your car to make sure everything is in order. If you're able, try to take the car out for a spin every few weeks—if that's not an option, at least run the engine for a few minutes. Doing so helps ensure everything is working as it should and gives the tires a few valuable rotations. Any visit allows you to address small problems that can develop into larger issues over time and to check the condition and security of your storage unit.
***
Rent Monthly Car Storage in a City Near You!
Looking for affordable car storage pricing? Extra Space Storage has self storage facilities all over the country that offer exceptional security, climate-controlled storage units, and other amenities to ensure your vehicle remains in great shape.
Popular storage facilities with vehicle storage: