Installing open kitchen shelves is a simple home improvement project that can add visual interest and help you maximize vertical space in a small kitchen. Opting to build your own kitchen shelves allows you to customize the size, materials, and finish to perfectly match your needs and kitchen design. Learn how to make DIY kitchen shelves in this step-by-step guide!
Supplies Needed:
- 6′ 1x10 boards (x3)
- 8x12 metal shelf brackets (x6)
- 2.5″ cabinet screws (1 box)
- 0.75″ wood screws (1 box)
- Drill
- Drill bits for pilot holes, wood screws, & cabinet screws
- Gloves
- Hand sander or sandpaper
- Long level
- Safety goggles*
- Stud finder
- Table saw
- Tape measure
- Optional: Wood stain, paint, polyurethane, & paintbrush or rags
*Remember to use caution and safety gear when using power tools and stain.
Step-by-Step Instructions for DIY Kitchen Shelves
No matter your experience with DIY projects, there are a few specific steps you’ll want to follow to effectively build your own kitchen shelving. Here are step-by-step instructions for constructing three 54″ kitchen shelves!
These instructions and suggestions apply to attaching kitchen shelves to drywall.
Step One: Plan Your Project
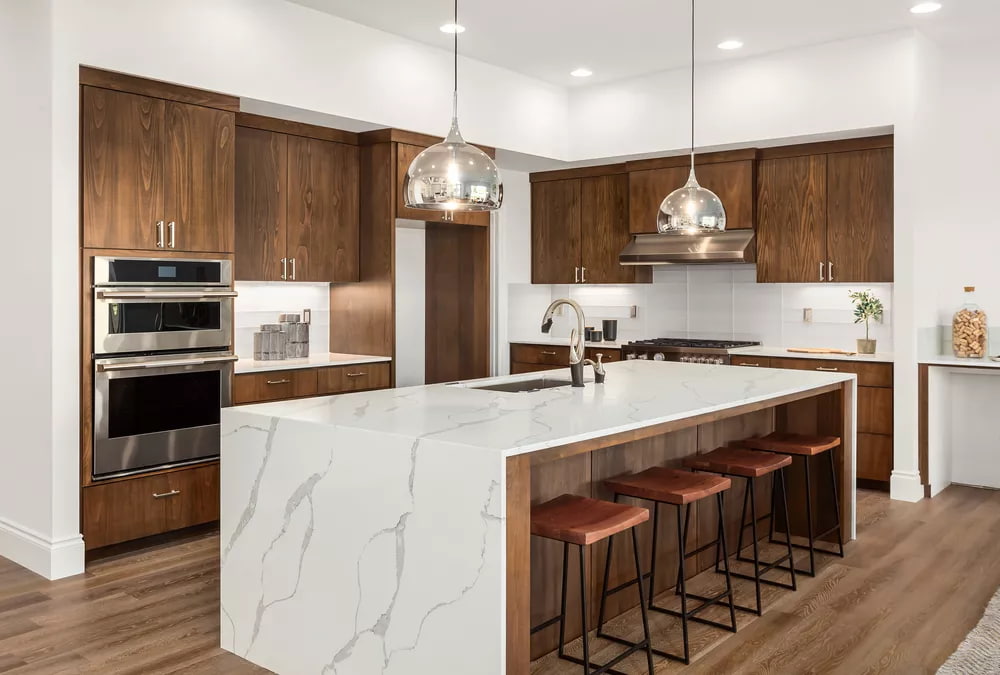
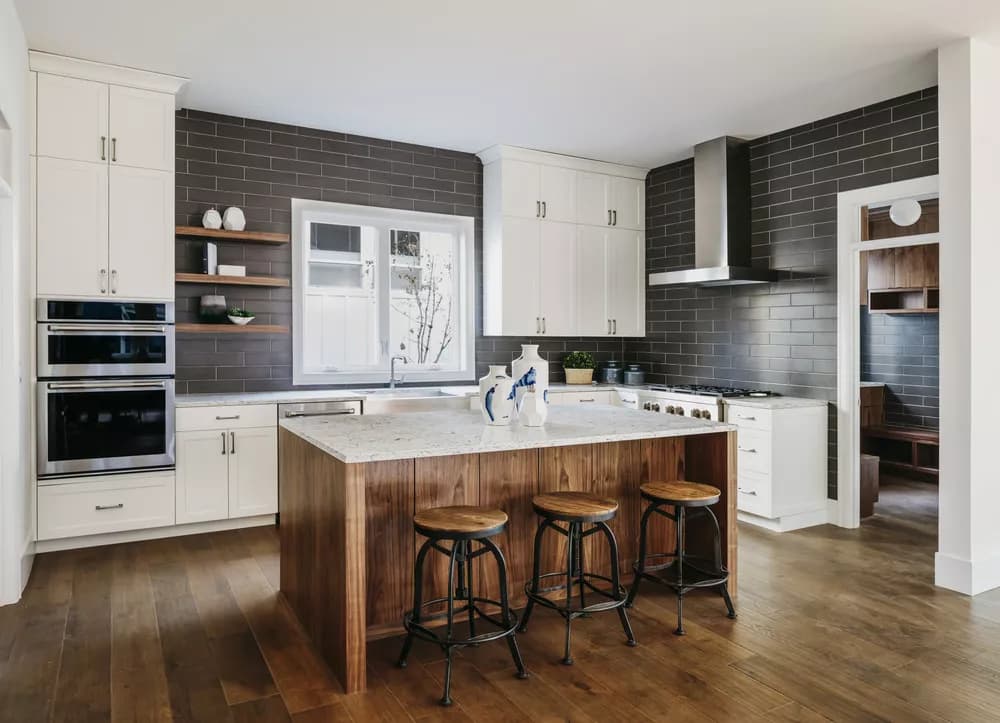
Before you begin building kitchen storage shelves, double check that your workspace is appropriate for the project and prep the area. Additionally, determine the materials you want to use to construct your DIY shelves—popular wood options for kitchen shelving include plywood, pine, oak, maple, cherry, and walnut. Consider both durability as well as your personal style preferences when selecting the wood and brackets you’d like to use. Then, ask yourself the following questions to make sure you’re ready to start:
- Are these shelves the right size for my space? If not, do I need to adjust the measurements to make them bigger or smaller?
- Do I have all the tools I need on hand, or do I need to borrow or buy new equipment?
- Should I adjust the material list to customize the shelves to my preferences?
- What do I plan to store on these shelves, and do I need to make adjustments to accommodate for their weight?
- What type of wall am I working on, and do I need to make adjustments to the steps or tools to accommodate for the material?
- How long will this project take me to finish?
Step Two: Measure & Cut the Wood
Once you’re ready to begin cutting your shelves to size, put on a pair of safety goggles and gloves for your protection. Use a tape measure to mark where each piece of wood needs to be cut—and double-check to ensure the measurements are correct—before using your saw. Then cut the 1x10 boards into three 54″ pieces. Note that there will be some wood left over after these cuts.
Step Three: Sand & Consider Staining or Painting the Wood
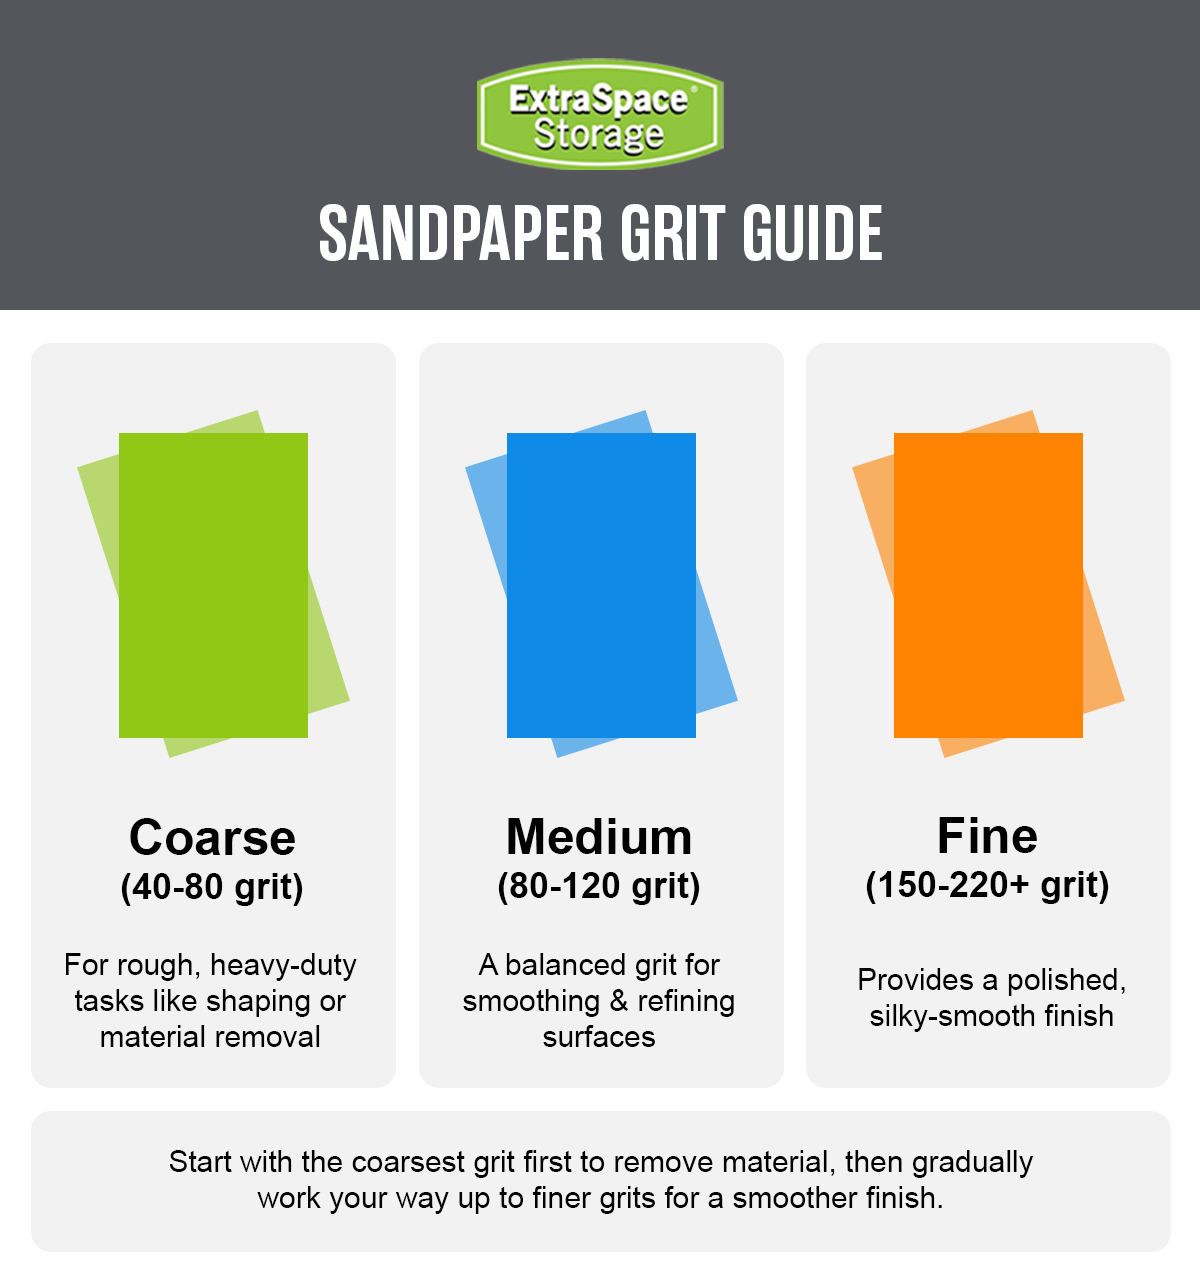
After cutting the wood to size, use a hand sander or sandpaper to smooth the edges and surfaces of the shelves to help prevent splinters and polish their appearance, then wipe away any dust. If you’d like to apply stain or paint to elevate the look of your shelves, sanding the boards will also help prepare them for this step. Decide whether to use stain or paint, then apply in thin coats with a paintbrush or rag. For a darker finish, apply additional coats after the first layer has dried. Then brush two coats of polyurethane across everything to help seal it and protect the wood. Allow the shelves to dry completely before proceeding.
Step Four: Locate Studs & Mark Bracket Placements
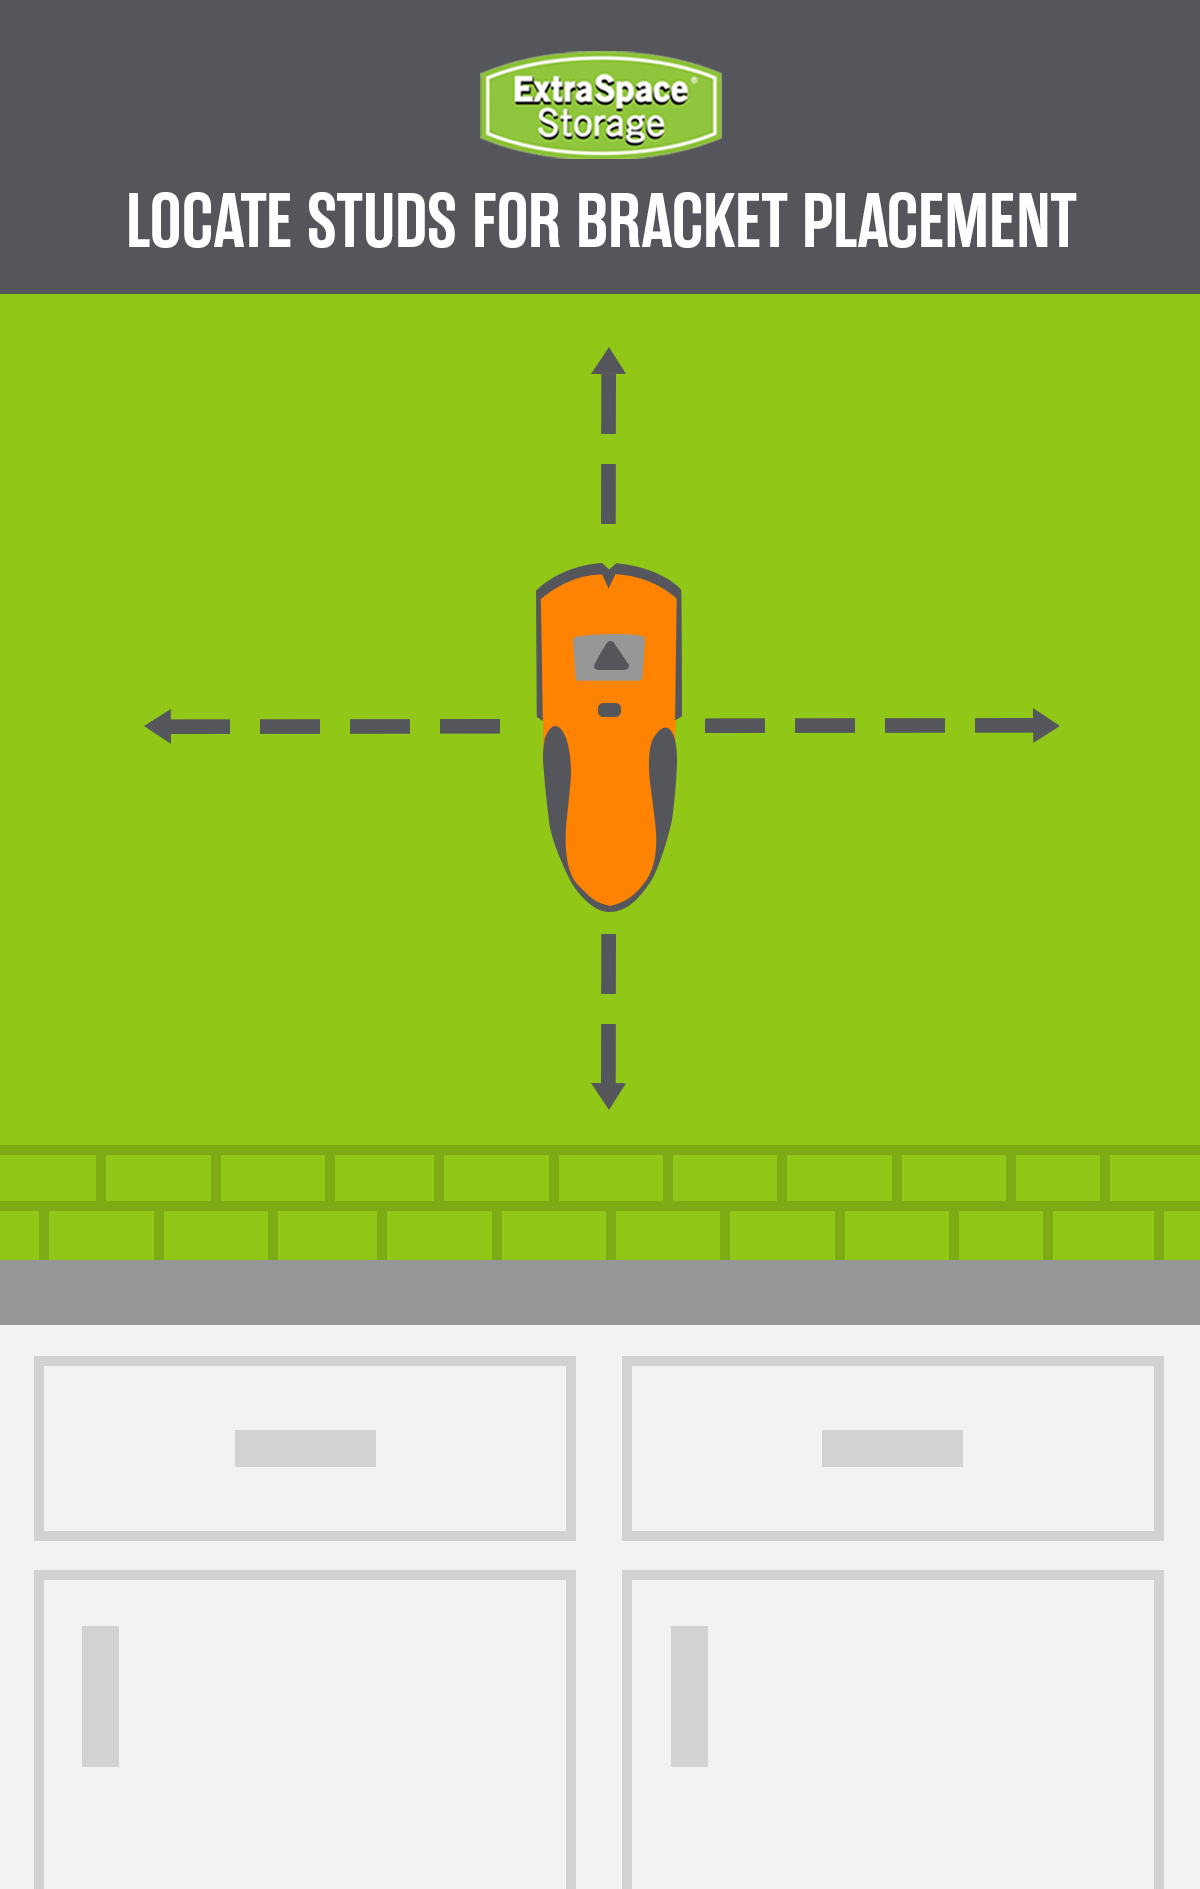
Now that you’ve prepped the wood, use a stud finder to locate studs in the wall where you’d like to hang all three shelves. This is crucial to securely mounting the brackets for the shelves, especially if they will hold heavy items. If you can, try to align at least one screw per bracket with a stud. After locating all necessary studs, use a pencil to mark the spots on the wall where you can attach your six brackets. Use a long level and measuring tape to ensure the marks for each shelf are level and evenly spaced.
Step Five: Hang the Brackets

With the appropriate spots for all of the shelves marked*, it’s time to attach the metal brackets to the studs. Pre-drill pilot holes at the marked bracket locations on the wall—this will make it easier to drill screws into the studs. Then drill 2.5″ cabinet screws into the pilot holes to anchor the brackets securely to the wall. Use a level each time you drill in a screw to make sure the brackets are still even. Once you’ve hung all the brackets, double check their placements one more time with a level and a measuring tape before moving on.
*Disclaimer: While these instructions are based off mounting kitchen shelves on studs, anchors and corresponding screws can be sufficient for certain weight quantities. Be sure to read the labels and weigh your items before utilizing.
Step Six: Attach the Shelves
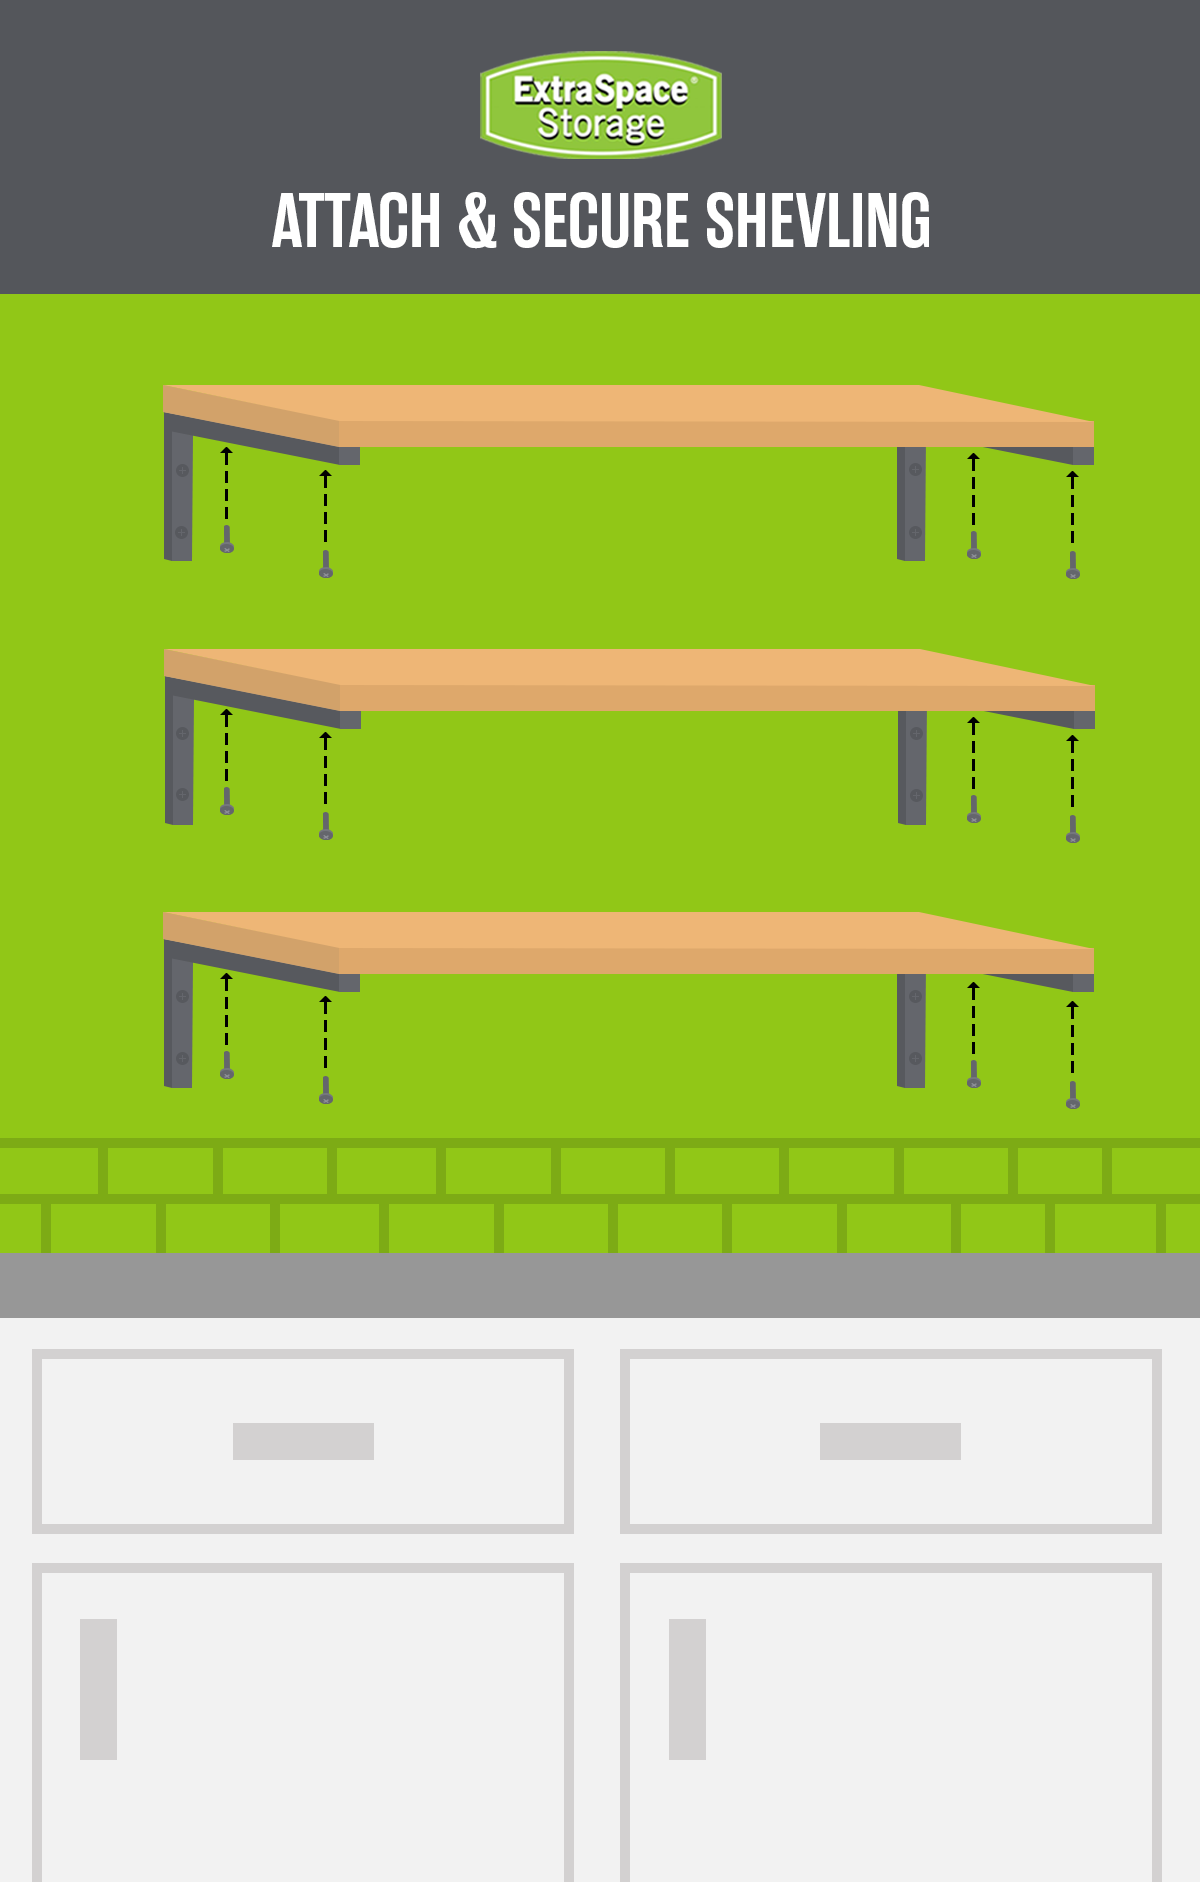
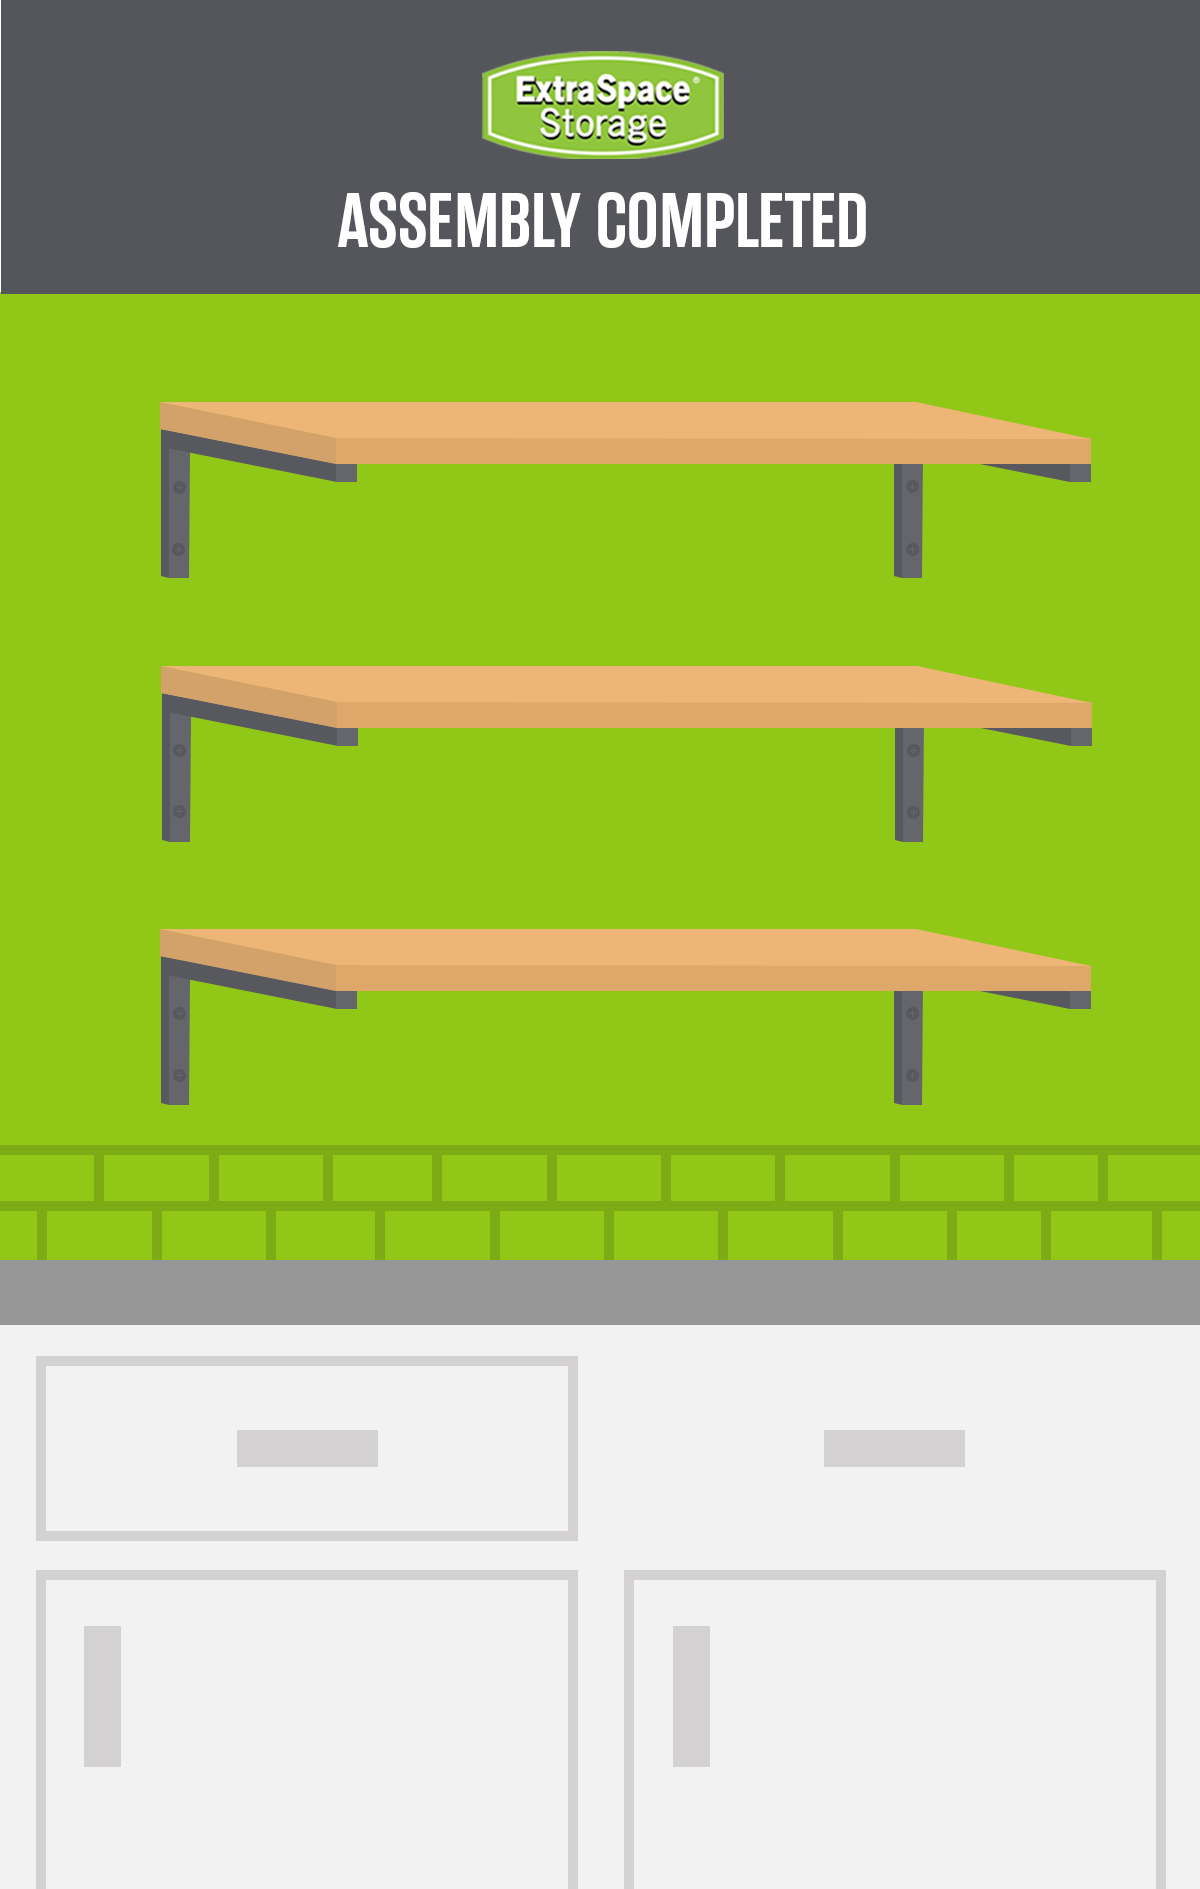
To attach the shelves, place one of the 54″ boards on top of a set of brackets, ensuring it’s centered and level. Use 0.75″ wood screws to attach the shelf to the brackets, drilling from the underside of the board through the holes in the brackets and into the wood board. Using small screws is essential to ensuring you don’t accidentally drill through the top of the shelf. Once you’re finished attaching the first shelf, repeat this step to hang up the remaining two shelves.
Tips for Open Kitchen Shelving
Need help organizing or decorating your kitchen shelves? Whether you want to use your shelves for additional kitchen storage or simply as visual appeal, here are some of the best kitchen shelf decorating ideas!
Group Similar Items Together
One of the best ideas for kitchen shelf decor is to group like-items together. Consider creating different stacks for mugs, plates, bowls, and other dishes—showing off dinnerware on open shelving is a great way to modernize your kitchen! Place ceramic bowls in a stack, lean wooden cutting boards together against the wall, and group metal kitchen utensils in a jar. You can even stack or stand up cookbooks with eye-catching covers and spines next to your kitchen items. To add depth and create a balanced look, keep taller objects toward the back of the shelves and shorter objects in the front.
Combine Different Styles & Materials
When decorating kitchen shelves, take some inspiration from the maximalist home style by incorporating a variety of patterns, styles, and materials. Choose a few colors or patterns that complement each other and scatter them throughout your display to add visual interest. Consider mixing modern and vintage home decor to create contrast on your shelves, and bring in some industrial, metal accent pieces to embrace the farmhouse style. If you don’t want to over-do it, try following the Rule of Three and focus on placing three different types of objects next to one other. Staggering items made of varying materials—like wood, metal, and glass—can add texture and depth to your shelves!
Choose Colorful Decor Pieces
Make your kitchen shelving stand out by adding pops of color through kitchenware, artwork, vases, and other decorative objects. Open shelving is not only great for showing off colorful plates and bowls, but also displaying bright art prints, photographs, and more. Frame an eccentric, food-themed poster and lean it against the wall. Place your favorite or most-used kitchen utensils in colorful vases or jars, then put them on your shelves to add both style and practicality. Or add a bit of personality by incorporating some neatly-folded hand towels and napkins in bright colors!
Incorporate Natural Elements
Bring a touch of the outdoors inside and elevate your kitchen shelf design by keeping plants, fresh herbs, or bowls of fruit on top of your shelves. Choose houseplants carefully, considering the amount of natural light they’ll receive—pothos, philodendrons, and snake plants are a few popular, low-maintenance options for kitchens. Opt for a more minimalist look by sticking to neutral accent pieces, using plants as focal points. Display ingredients or herbs you often cook with—like rosemary, thyme, and basil—to achieve a more cottagecore feel while adding fragrance to your kitchen. And place bowls of fresh apples, bananas, or oranges on your kitchen shelves to add visual interest and make your space feel even more inviting!
***
Need more space to store kitchen appliances, utensils, or accessories? Extra Space Storage has convenient storage locations across the U.S. to help. Find a storage facility near you!