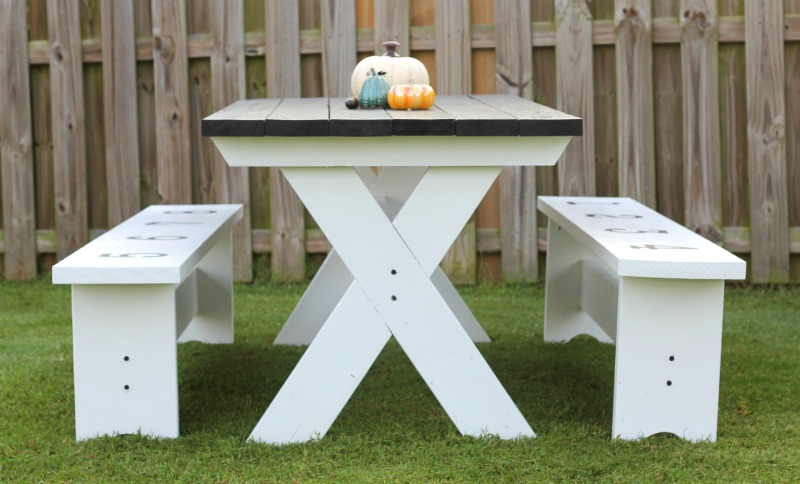
Giving your home a farmhouse-style makeover? This DIY tutorial on how to to build a farmhouse-style bench is a great way to incorporate rustic flair while adding seating to your space. Whether you’re looking to incorporate a bench in your entryway, mudroom, or at a table, follow these steps to create a cozy rustic bench with storage!
Supplies Needed:
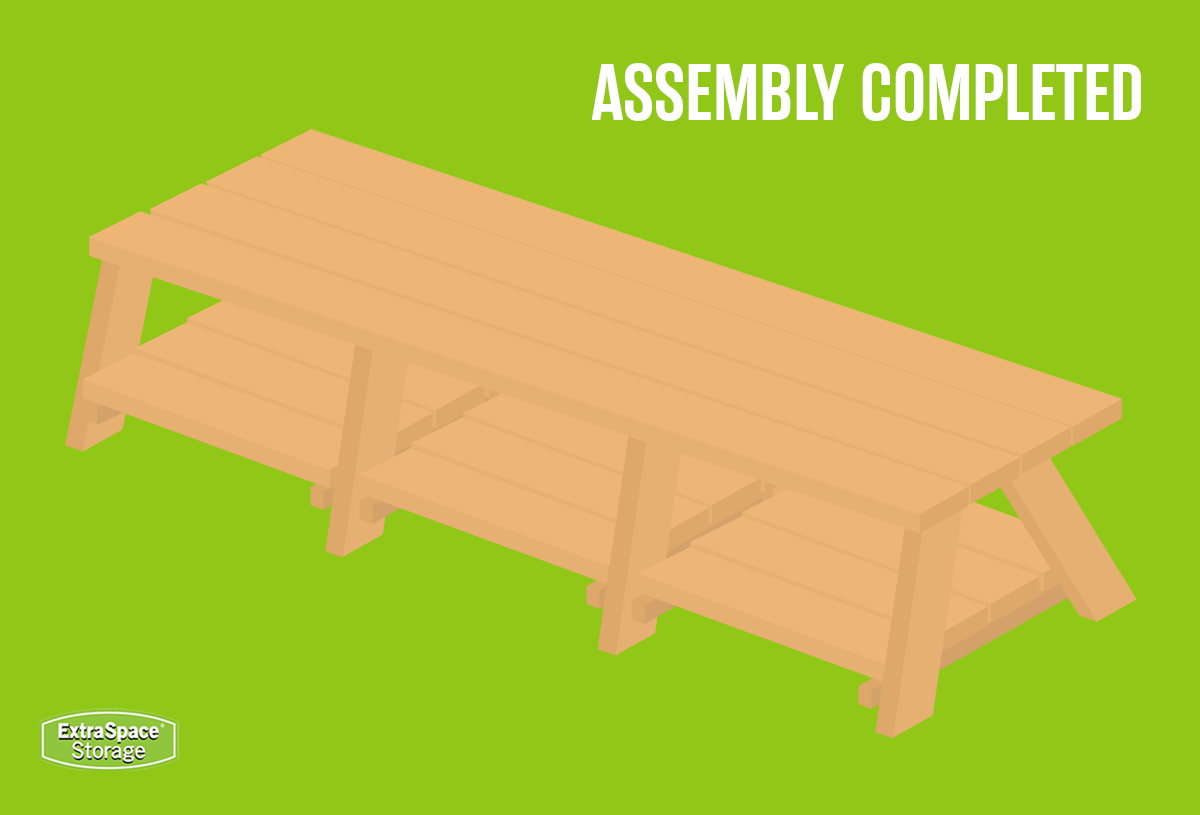
The following materials listed will create farmhouse bench measuring 8′ long x 16″ wide x 19″ tall. We encourage you to adjust this supply list as needed to create your bench size.
Material dimensions are written as Thickness x Width x Length—please note we use nominal sizes, rather than actual lumber sizes.
- 8′ 2x4 boards (x10)
- 8′ 2x2 boards (x2)
- 2.5″ exterior wood screws (1 box)
- Carpenter square
- Drill set
- Gloves
- Hand sander
- Miter saw
- Pencil
- Polyurethane
- Rags
- Safety supplies
- Tape measure
- Wood stain
- Optional: Paintbrush, primer, & paint (in place of wood stain)
Cut List:
- 14″ 2x2 (x10) – brace pieces
- 17″ 2x4 with a 12° angle on each end (x8) – bench legs
- 18″ 2x4 – middle shelf
- 19″ 2x4 (x2) – end shelves
Use caution when using power tools. Follow all manufacturer’s instructions and wear proper safety gear. There will be scrap wood left over from some of these cuts.
Step-by-Step Instructions for a DIY Farmhouse Bench
Creating a DIY farmhouse bench is a great project for beginners and experienced DIYers alike. Follow these eight steps to build a farmhouse bench!
Step 1: Plan Your Project
To begin this DIY bench project, determine your workspace, gather all necessary materials, and figure out whether you’ll need to make any modifications to the process depending on your space, style preferences, and needs. Ask yourself the following questions to ensure you’re ready to begin:
- Is this bench the right size for my space? If not, do I need to adjust the measurements to make it bigger or smaller?
- Do I have all the tools I need on hand, or do I need to borrow or buy new equipment?
- Should I adjust the cut or material list to customize the project to my preferences?
- Is my workspace big enough to do this project safely?
- How long will this project take to finish?
Step 2: Measure & Cut the Wood
Once you’re ready to start cutting the lumber, put on your gloves and safety goggles for protection. To help ensure accuracy, always use a pencil to mark each measured cut—and verify each measurement again—before cutting wood. Cut the wood for your farmhouse bench using the following directions:
- Grab the four best-looking and most even 2x4s and set aside. This will be constructed into the seat of your bench in Step 3.
- Cut two 8′ 2x2s into ten 14″ boards to create the bench braces.
- Take two new 2x4s and cut them into eight 17″ boards. Cut an angled, 12° cut on each end. These will be the bench legs.
- Cut the remaining four 2x4s into eight 19″ boards and four 18″ boards and set aside. These will be storage shelves for the bench.
Step 3: Assemble the Bench Seat

Since we’ll sand the finished bench in Step 7, it’s best to keep your carpentry gloves on while you assemble the pieces of your bench. Follow these directions to create the seat of your farmhouse bench:
- Line up the four set-aside 8′ 2x4s with the good side facing the ground. Ensure the ends are even with each other.
- Clamp the boards together to keep them secure.
- Place two braces on either side of the bench, 2″ from the seat’s side edge. Drill these outer braces into the bench seat with eight wood screws each.
- From the secured outer braces, measure 20″ and drill in the inner braces with eight wood screws each.
Step 4: Attach the Legs

Attaching the legs to your farmhouse bench can be a bit tricky, since the edges of each leg is cut at the 12° angle. Double-check the positioning before drilling each leg into the bracer to ensure the bench will securely sit on the ground. Use a carpenter square to to ensure proper alignment, and follow these instructions to attach the farmhouse bench legs:
- Place two 17″ legs in a “V” formation on the outer side of an outer brace. This formation helps ensure you’re positioning the angled legs so they’d be level on the ground.
- Drill the two 17″ legs into the outer bracer using two screws per leg.
- Repeat three more times to attach the remaining three pairs of bench legs.
Step 5: Add the Bottom Braces

For additional sturdiness, we suggest attaching braces at the bottom of the legs. Follow these directions to increase the sturdiness of your DIY farmhouse bench:
- (Refer to Bench Brace Assembly I above) With the bench still upside-down, measure and mark 2″ down from the “top” of each leg so you know where the “top” of the brace piece should lay.
- Align the bottom braces with the measurements using the square—each brace should face inward. Place an additional brace on the middle legs for extra stability.
- (Refer to Bench Brace Assembly II below) Screw in the six 14″ brace pieces—ensure the outer legs’ braces face inward while each middle leg has one brace on either side of it for extra stability.

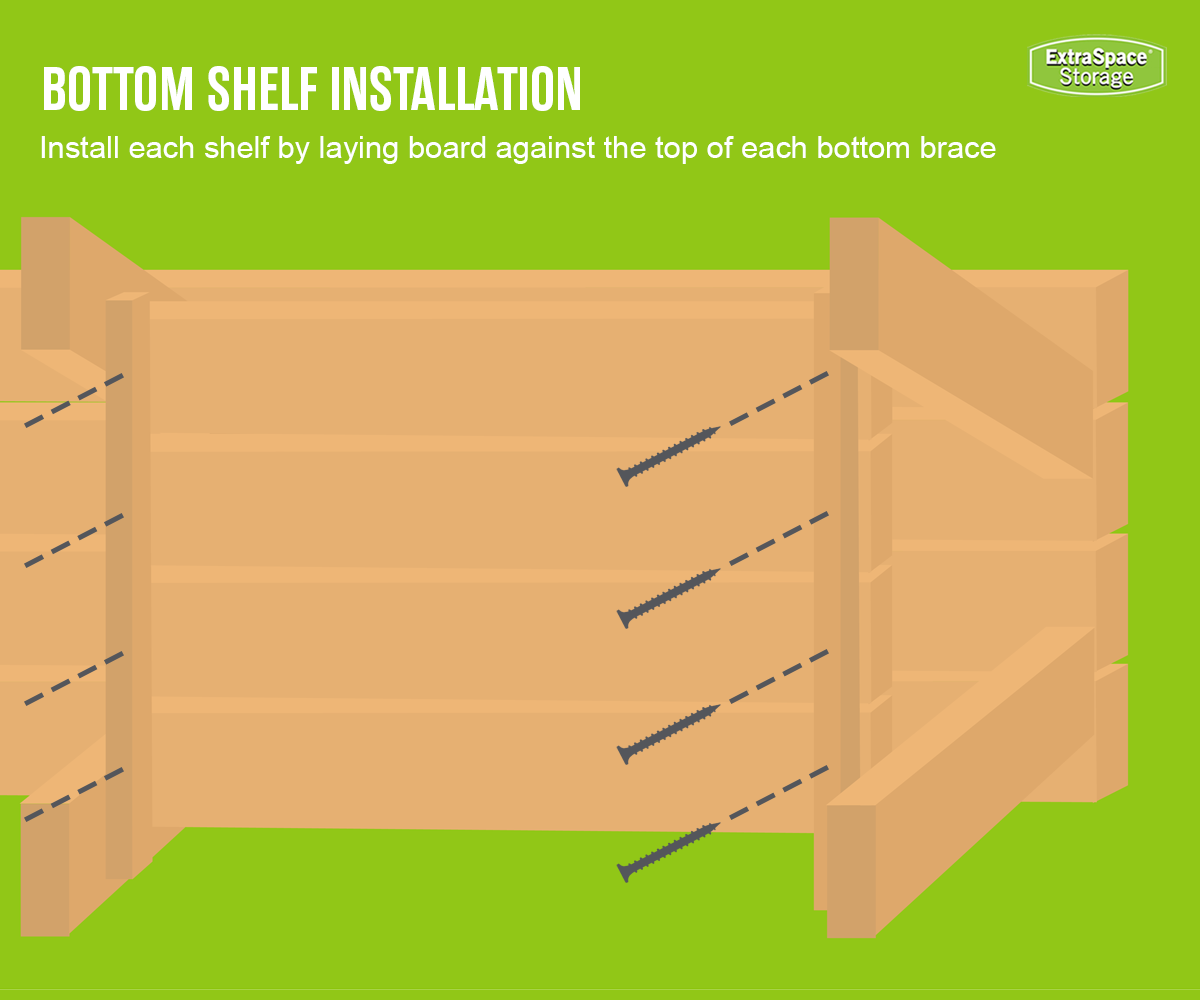
Step 6: Assemble & Install the Bottom Shelves
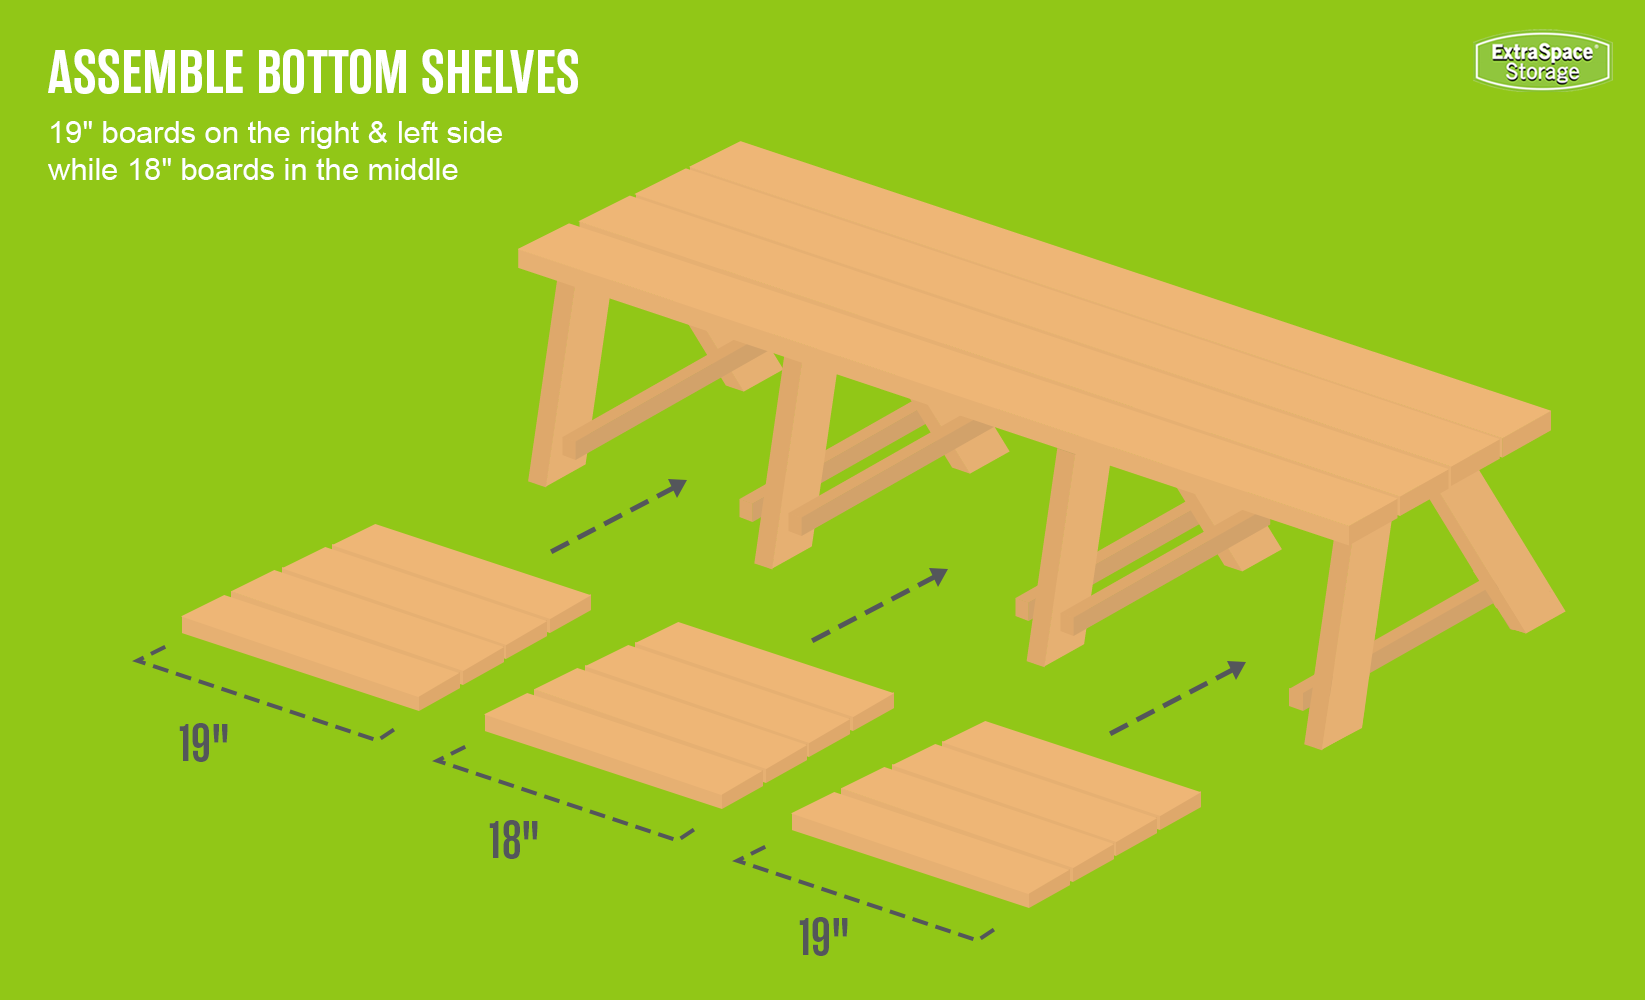
You’ll need to assemble each shelf before attaching it to the bench’s bottom braces. Follow these directions to create bench shelves:
- Grab the eight 19″ boards and split them into groups of four. You should have two piles of 19″ boards and one pile of 18″ boards.
- Lay each board side by side next to each other in their group and glue them together. Clamp each group of four boards together so help keep each unit secure while the glue sets. Set aside.
- Flip the bench on its side. Measure the distance from each leg piece to confirm your shelf lengths are correct—ensure the 18″ shelf goes in the middle section of the bench.
- Install each shelf by laying it against the top of each bottom brace. Drill wood screws into the bottom of the braces to secure each shelf to the bench.
Step 7: Sand the Bench
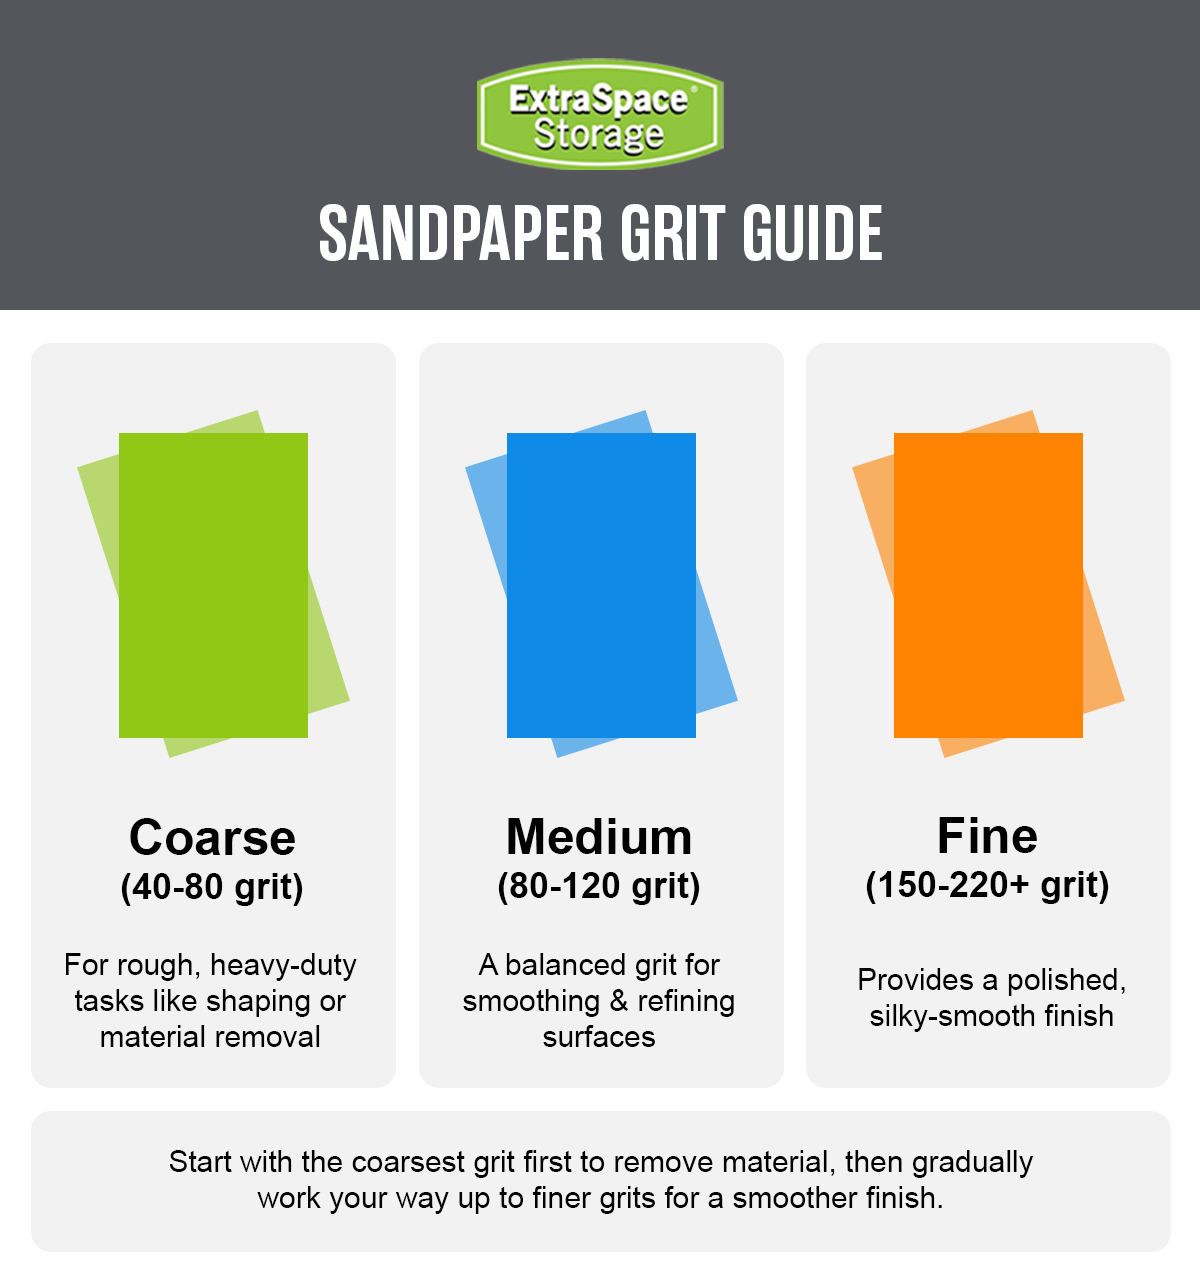
Flip your bench back over so it’s right side up. Using a hand sander, sand the bench and shelves until everything feels smooth. Vacuum the bench, especially crevices, to ensure dust and wood chip removal. This helps prevent splinters and prepares the bench for staining and painting, as these materials will adhere better to an even surface.
Step 8: Stain or Paint the Bench
Stain or paint your farmhouse bench depending on your personal preference. Whichever you choose, be sure to get into all cracks and crevices for even, full coverage. Allow each layer to dry completely between coats, and apply a polyurethane seal at the end. Want to stain yourIf staining your bench, wear gloves and use an old rag to apply the stain—you can add multiple layers depending on how dark you want it. Want to paint your DIY bench? Be sure to start with a primer and follow up with an indoor or outdoor paint in a trendy interior color of your choice. You can also distress your bench with a sander afterward if you’re going for a more rustic look!
Decor Tips for Your DIY Farmhouse Bench
Looking for inspiration on how to use your new farmhouse bench? From creating convenient entryway storage to adding farmhouse-style decor to your kitchen, here are a few ideas for styling your DIY farmhouse storage bench!
Incorporate Storage Pieces
Adding storage to your farmhouse bench will make it both practical and stylish! Keep decorative containers underneath your mudroom bench to store items ranging from spare hats, gloves, and blankets to magazines or pet supplies. Opt for wooden crates to reinforce the farmhouse theme, or choose decorative wicker baskets to bring in more of a cottagecore look!
Create a Functional Entryway
Wondering how to style a farmhouse entryway bench? Placing your bench in the space next to your front door is as welcoming as it is useful. Set a pillow or blanket on your bench to give you and your guests a cozy place to take shoes on and off. Install a shelf with hooks above it for coats and purses—or hang a mirror or custom sign that matches your bench’s style. And use your bench for shoe storage to keep footwear organized and out of the way!
Place It in Your Bedroom
If you’re looking to incorporate more furniture in your bedroom, your farmhouse bench could be the perfect addition! Place the bench at the end of your bed as a focal point and spot to put on shoes. Set your bench beneath the window to create an inviting reading nook. Or arrange your farmhouse bedroom bench to complement existing wall decor. No matter where you put your bench, adding pillows and a throw blanket can give it a warm touch!
Use Your Bench for Outdoor Seating
Find yourself needing more seating when hosting guests in your outdoor living room? An outdoor farmhouse bench is a great solution! Beyond offering additional seating options, your outdoor bench can also provide extra storage space underneath for cushions, outdoor games, blankets, and more. Just make sure your bench is weatherproofed with the proper sealants and waterproof covers.
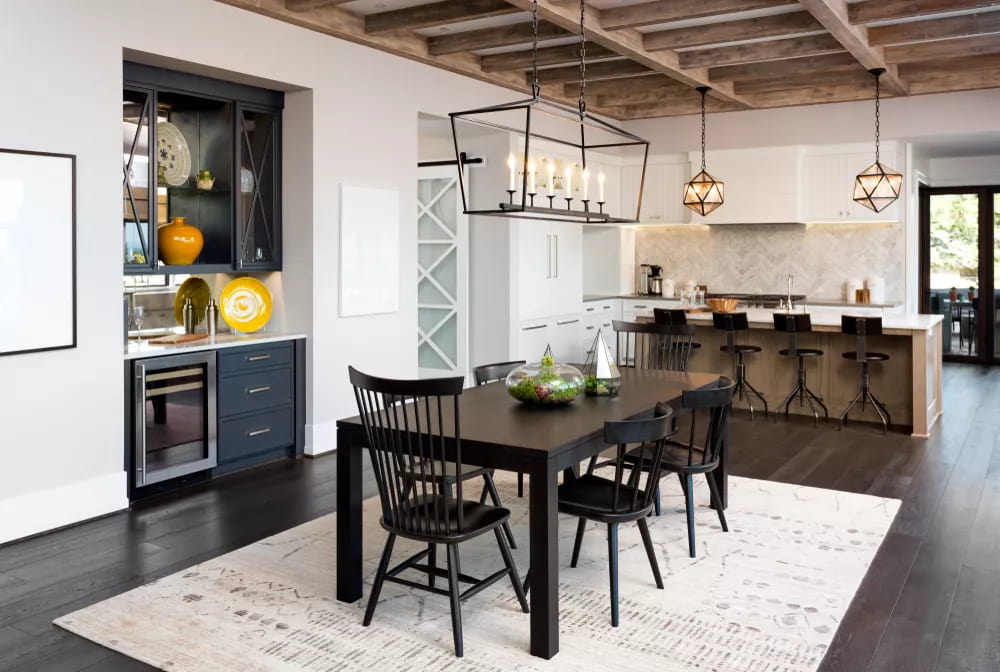
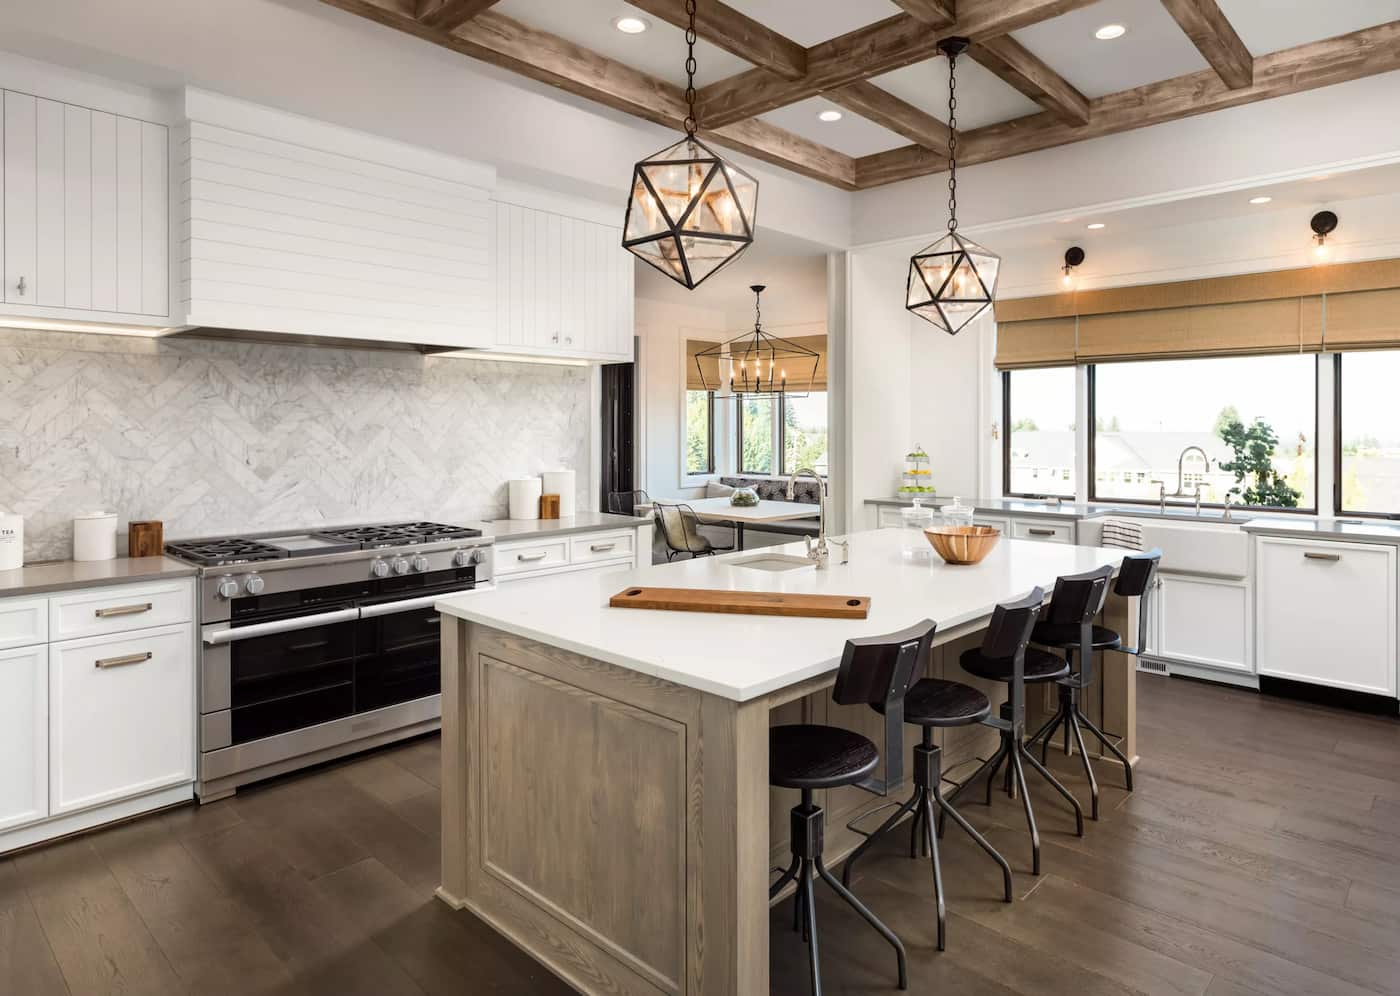
…Or Kitchen Table Seating
Placing your bench against an empty wall in your kitchen or at a table adds seating options for family and friends while making your space stand out. This practical addition can also help keep tableware such as linens and placemats neatly tucked away. If you’re up for another project, you can even pair your bench with a DIY farmhouse kitchen table to bring the whole look together!
***
Need more room to construct DIY projects at home? With facilities across the U.S.—along with amenities like workshop units—we’re your storage solution when you need extra space. Rent a monthly Extra Space Storage unit today!