Searching for a budget-friendly way to refresh your bedroom decor? A DIY pallet headboard is an easy and cost-effective project to consider! Using repurposed wood pallets to create a customized headboard can add rustic charm to your space and make it stand out. Follow this guide to learn how to build a headboard out of pallets!
Supplies Needed:
- Wood pallets (x1-5, depending on headboard size)
- 8′ 2x4 boards (x5 or more, depending on headboard size)
- 1.5″ wood screws (1 box)
- Drill set
- Gloves
- Hand sander/sandpaper
- Measuring tape
- Miter saw
- Paintbrush or rag
- Pencil
- Polyurethane
- Reciprocating saw
- Safety goggles*
- Tape measure
- Trim nail gun
- Wood stain or paint
- Optional: Hammer & pry bar
- Optional: 2x6 board (x1)
*Remember to use caution and safety gear when working with power tools and stain.
Step-by-Step Instructions for a DIY Pallet Headboard
This easy DIY headboard project is suited to experienced builders and new DIYers alike. Follow these steps to assemble the pallet headboard of your dreams!
Step One: Plan Your Project
Before you begin assembling your pallet headboard, select a workspace, then prep the area and gather all necessary materials. When looking for wood pallets to upcycle, choose pallets of varying shades if you desire, and remember to check that the wood is in good condition—free from rot, mold, discoloration, and other signs of damage. To ensure you’re ready to begin constructing your headboard, ask yourself the following questions:
- What size headboard does my bed require, and how many pallets do I need in order to build it?
- Do I have all the tools I need on hand, or do I need to borrow or buy new equipment?
- Should I adjust the material list to customize the project to my preferences?
- Is my workspace big enough to do this project safely?
- How long will this project take to finish?
| Bed Size | Average Headboard Length | Average Headboard Height | Average # of Pallets Required* |
| Twin-sized bed | 41″ | 14″ | 1-2 |
| Full-sized bed | 56″ | 28″ | 2-3 |
| Queen-sized bed | 62″ | 28″ | 3-4 |
| King-sized bed | 80″ | 58″ | 4-5 |
*These numbers were determined based on average headboard lengths and heights. Taller headboards may require additional pallets.
Step Two: Prepare the Pallets
Once you’ve gathered all the materials you need, it’s time to remove the wooden boards from each of the pallets. Put on safety goggles and gloves to protect yourself from sharp nails and splinters. Then use a reciprocating saw to cut through the nails that hold the pallet boards to the frame. If needed, you can use a hammer and a pry bar to help lift the nails from the pallet boards. As soon as the planks are separated, remove any remaining nails and set them aside for sanding.
Step Three: Sand the Pallets
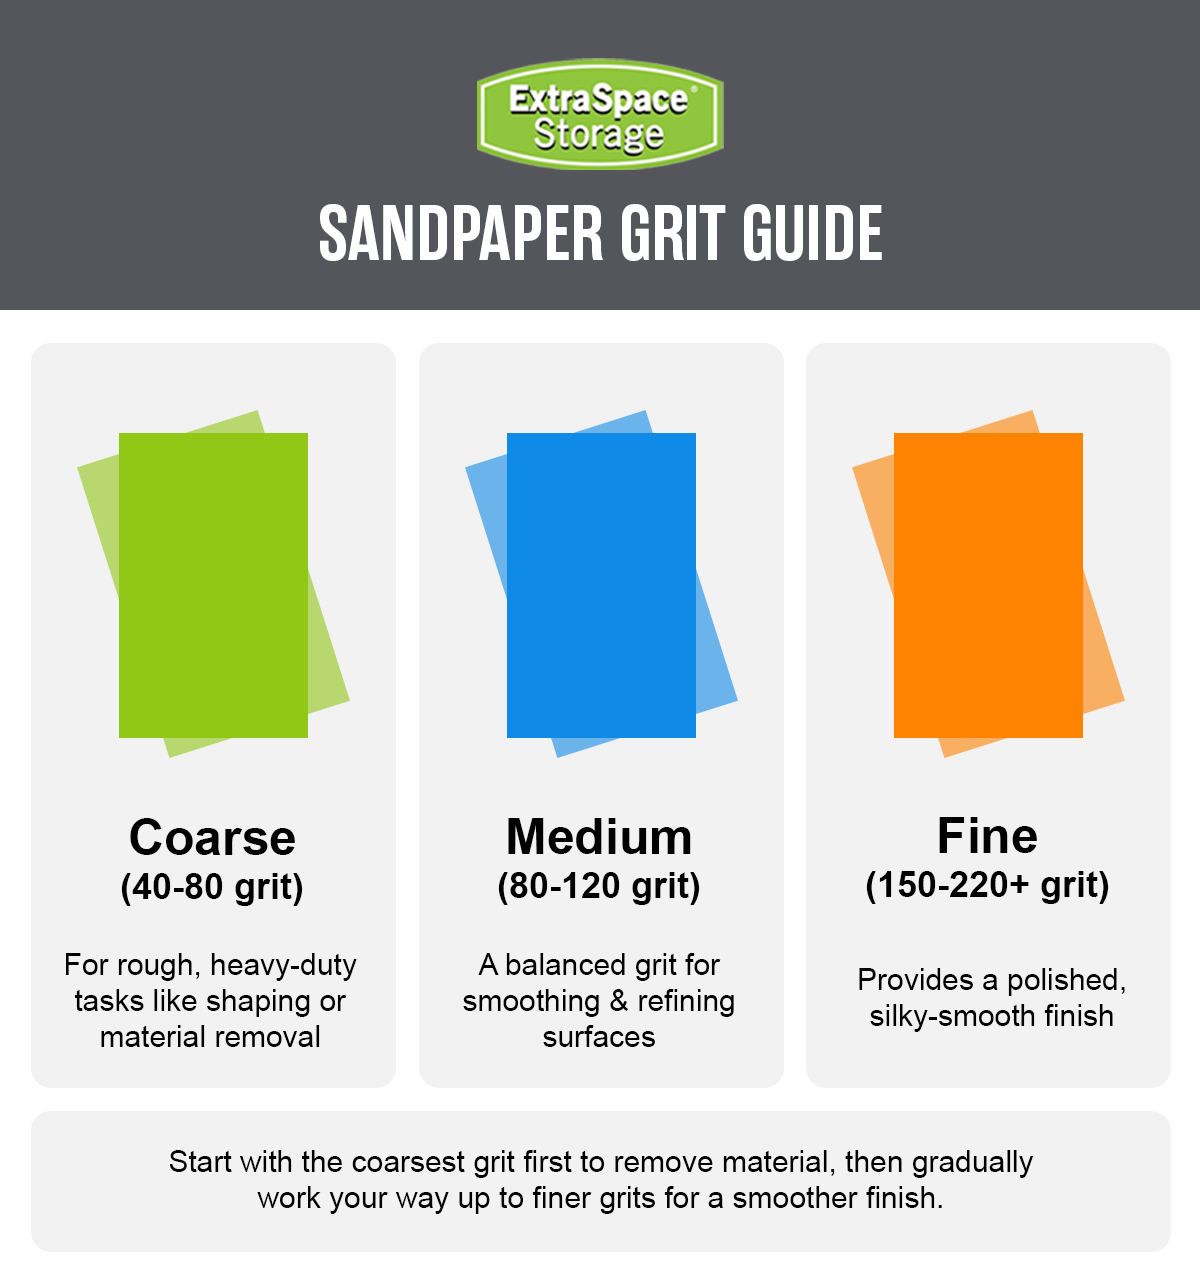
Sanding is essential to preventing splinters and ensuring your headboard doesn’t have any rough spots. If you’re planning to stain or paint your headboard, sanding will also help create a smooth surface for these materials to adhere to. Sand the entire surface of each plank using a hand sander (or sandpaper), ensuring you don’t miss any edges or corners. Then wipe down the sanded planks with a clean rag to remove any dust.
Step Four: Stain or Paint the Pallets
After prepping the pallets, stain or paint them as you desire. Select a stain that enhances the natural beauty of the wood, or opt for a paint color that complements your existing bedroom aesthetic. Apply the stain or paint evenly—and in thin coats—using a clean rag or paintbrush. For a darker finish, let the stain dry completely, then apply additional coats. If you’re going for a more rustic look, consider mixing equal parts paint and water for a subtler finish. Once you’re finished, apply two coats of polyurethane across everything to help seal the paint or stain and protect the wood. Allow the pallets to dry completely before moving onto next steps.
Step Five: Cut the Wood
As you let the pallets dry, begin making the frame for your headboard. Measure the height and width of your bed to decide on an appropriate frame size. You’ll want to cut two 2x4 boards to your desired headboard height* and two additional 2x4 boards to your desired headboard length. For accuracy, use a tape measure and pencil to mark where each piece of wood needs to be cut—and double-check to verify you measured correctly again—before using your miter saw. With the remaining 2x4 boards, cut vertical support beams that fit within the top and bottom of your frame—these will give your headboard more stability. It’s best to have one support beam per every 12-16″ of length—so longer headboards will require more beams for proper reinforcement.
*To ensure your headboard is visible behind pillows, aim for your boards to extend at least 14″ above the top of your mattress—or between 28″ and 58″ for larger bed sizes.
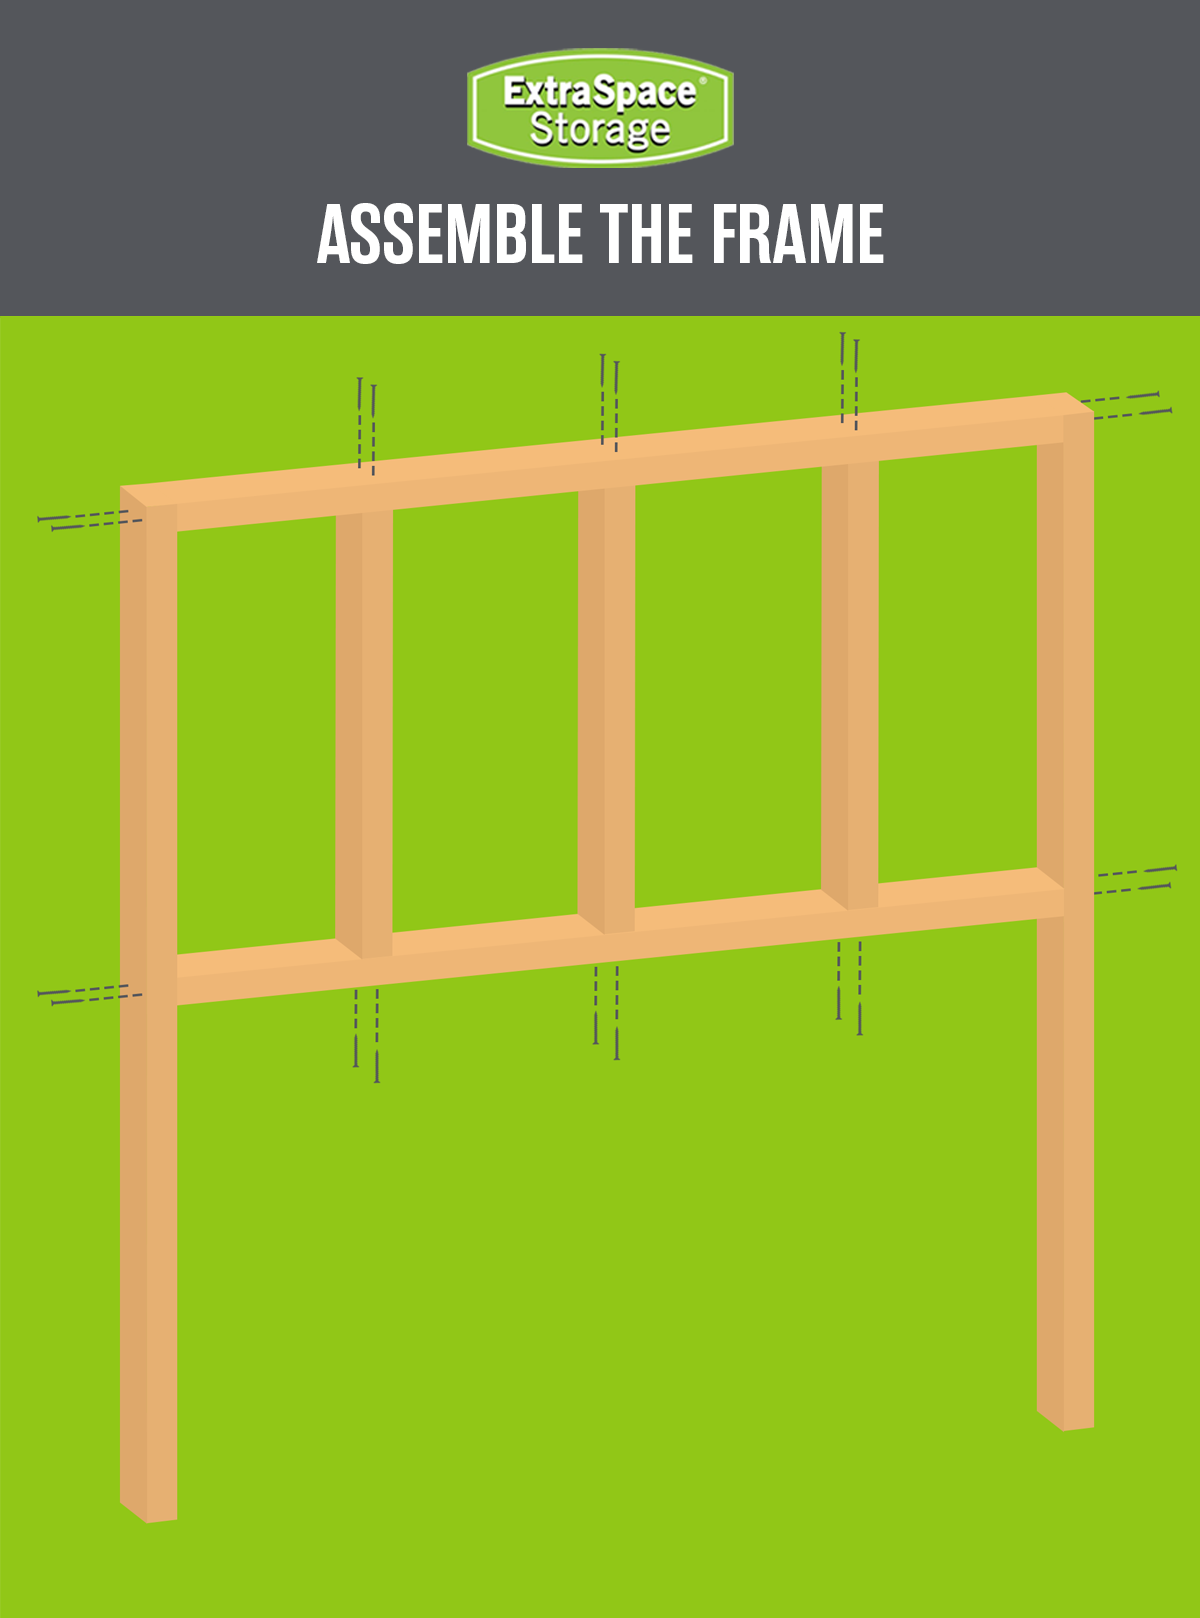
Step Six: Assemble the Frame
To begin assembling your DIY headboard, take the 2x4s you’ve just cut and lay them down flat so they form an outer frame—with the two longer boards laying vertically, connected by a shorter, horizontal board across the top. Place the last 2x4 between the two vertical boards wherever you’d like your headboard to end (according to your desired height). Anchor these boards together using 1.5″ wood screws, drilling one screw into each corner. Once the outer frame is complete, lay the vertical support beams down flat, evenly within the frame (approx. one per every 12-16″). Then drill 1.5″ wood screws into the outer 2x4s to anchor them to the support beams.
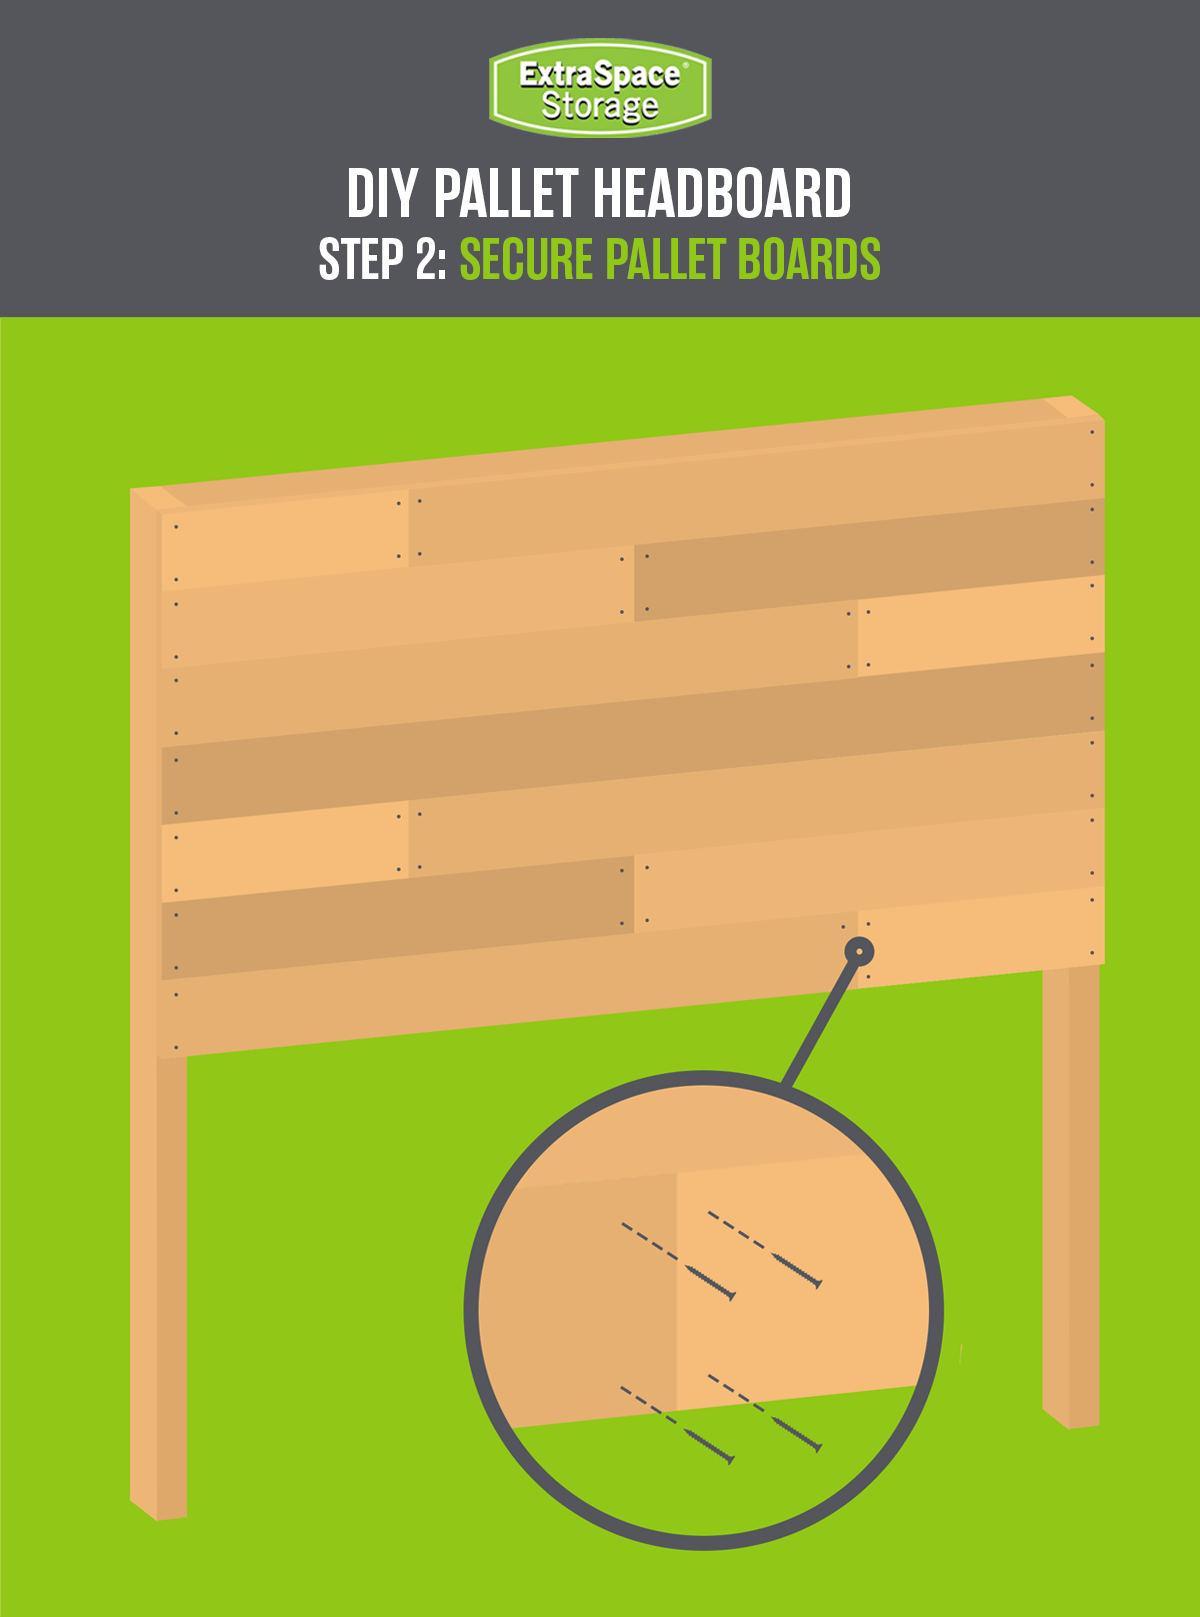
Step Seven: Cut & Attach the Pallet Boards
With the pallet board frame assembled, it’s time to cut and attach your stained or painted pallet boards. Lay out the planks to determine the pattern you’d like for the headboard. Once you’ve measured and marked where the planks should be cut, trim them with a saw. If your preferred design involves using multiple planks per row, be sure to cut (and space) your boards to a length that allows them to also be nailed to one of the interior support beams. With all the boards cut, work from the bottom up with a trim nail gun to secure each plank to the frame—nailing one screw into all four corners of each plank.
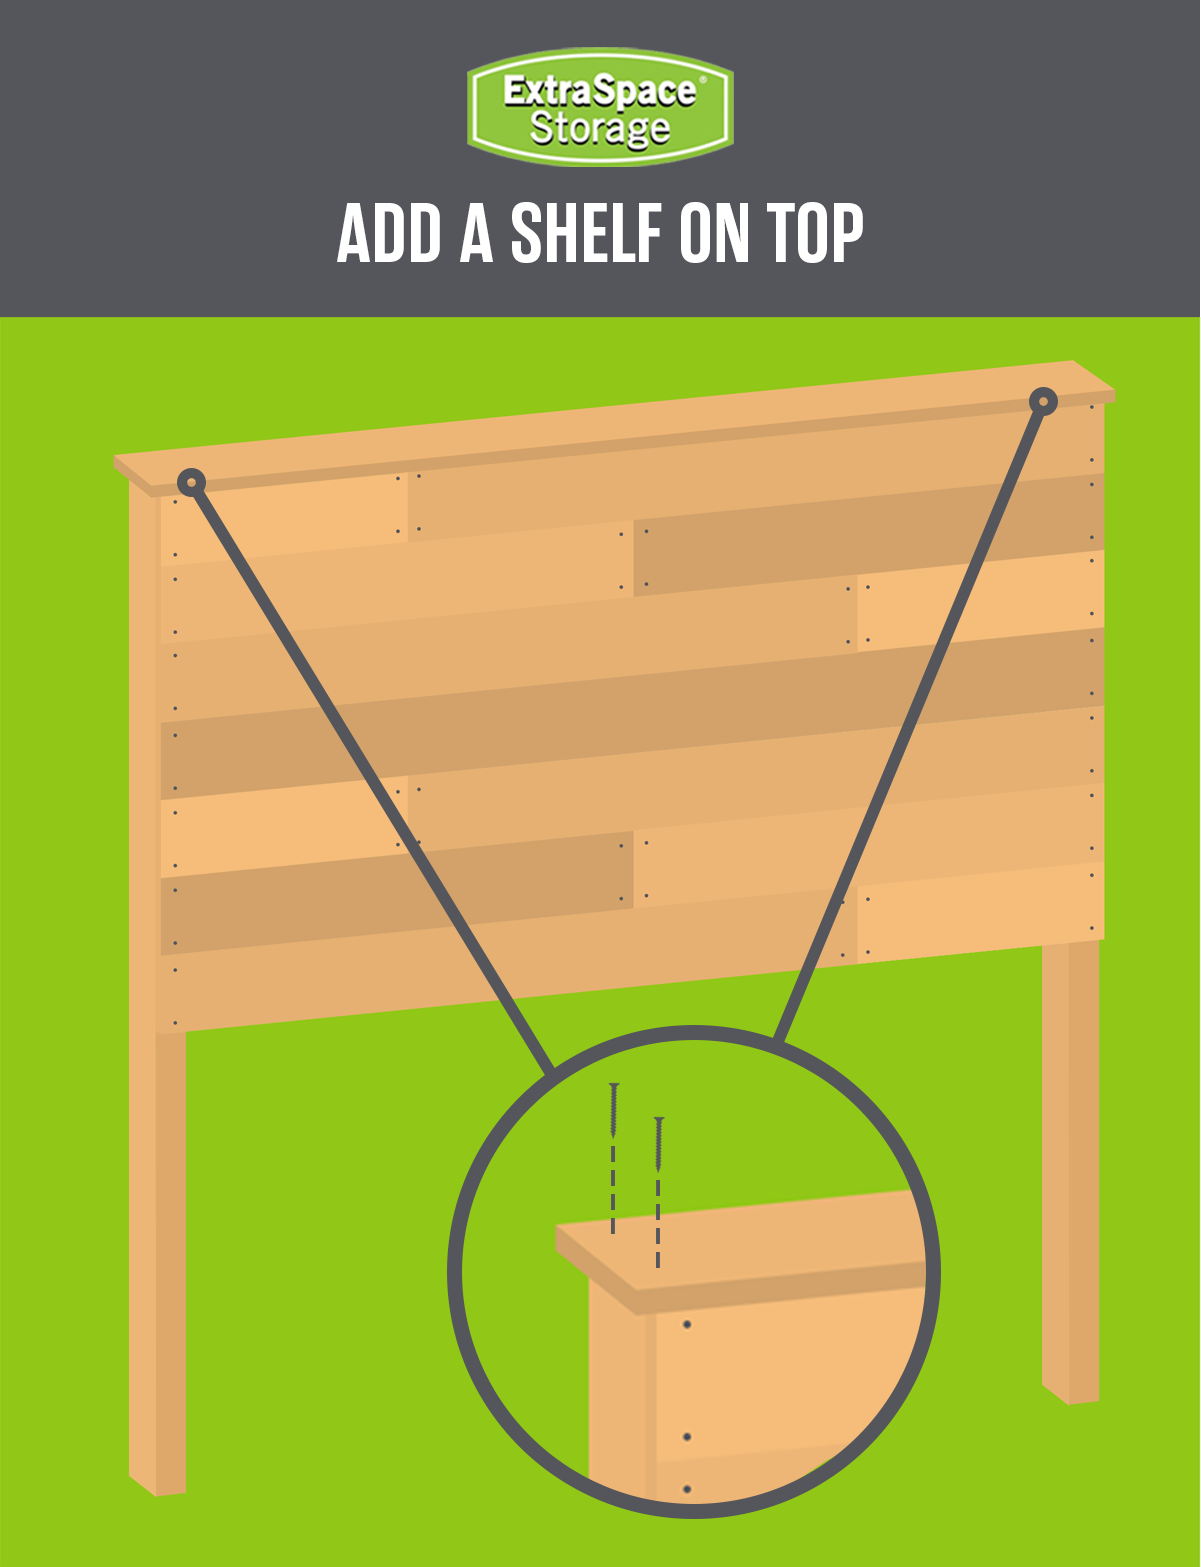
Step Eight (Optional): Add a Shelf on Top
If you’d like to give your headboard a more polished finished or create a bit of extra storage space at the top, you can add a shelf with a 2x6 board. Center the board over the top of your existing frame, then mark where it should be cut—allowing 2″ of overhang on both ends. Cut to size with a saw, then sand, and stain or paint the shelf as desired. Once it’s completely dry, re-center the board and drill two 1.5″ screws into the top on both ends to anchor the shelf to the frame.
Decor Tips for Your Wood Pallet Headboard
Want to add some personal touches to your new headboard to make it even more unique? Check out these ideas for how to style and decorate your headboard!
Incorporate Lighting
If you’re looking for unique headboard ideas, consider adding lighting into your headboard design to bring in both warmth and functionality! Fasten LED strip lights to the sides of your headboard or hang fairy lights across the top to create a cozy atmosphere. If you enjoy reading before bed, consider a more practical approach by attaching adjustable reading lamps to the top. For a sleeker look, install two battery-operated puck lights to the front of the headboard. Or go with mounted sconces with sharp angled designs for a more minimalist feel!
Add Hardware
A great way to enhance the look of your homemade headboard is to incorporate some decorative or functional hardware. Attach antique knobs or hooks to the ends of the frame—not only do these add visual interest, but they can also provide extra storage space for accessories like hats, scarves, or jewelry. Add a modern touch by installing industrial-style pipe fittings across the top or sides of your headboard to create sharp lines. Or incorporate corner brackets and other metal reinforcements to give your headboard a more polished look!
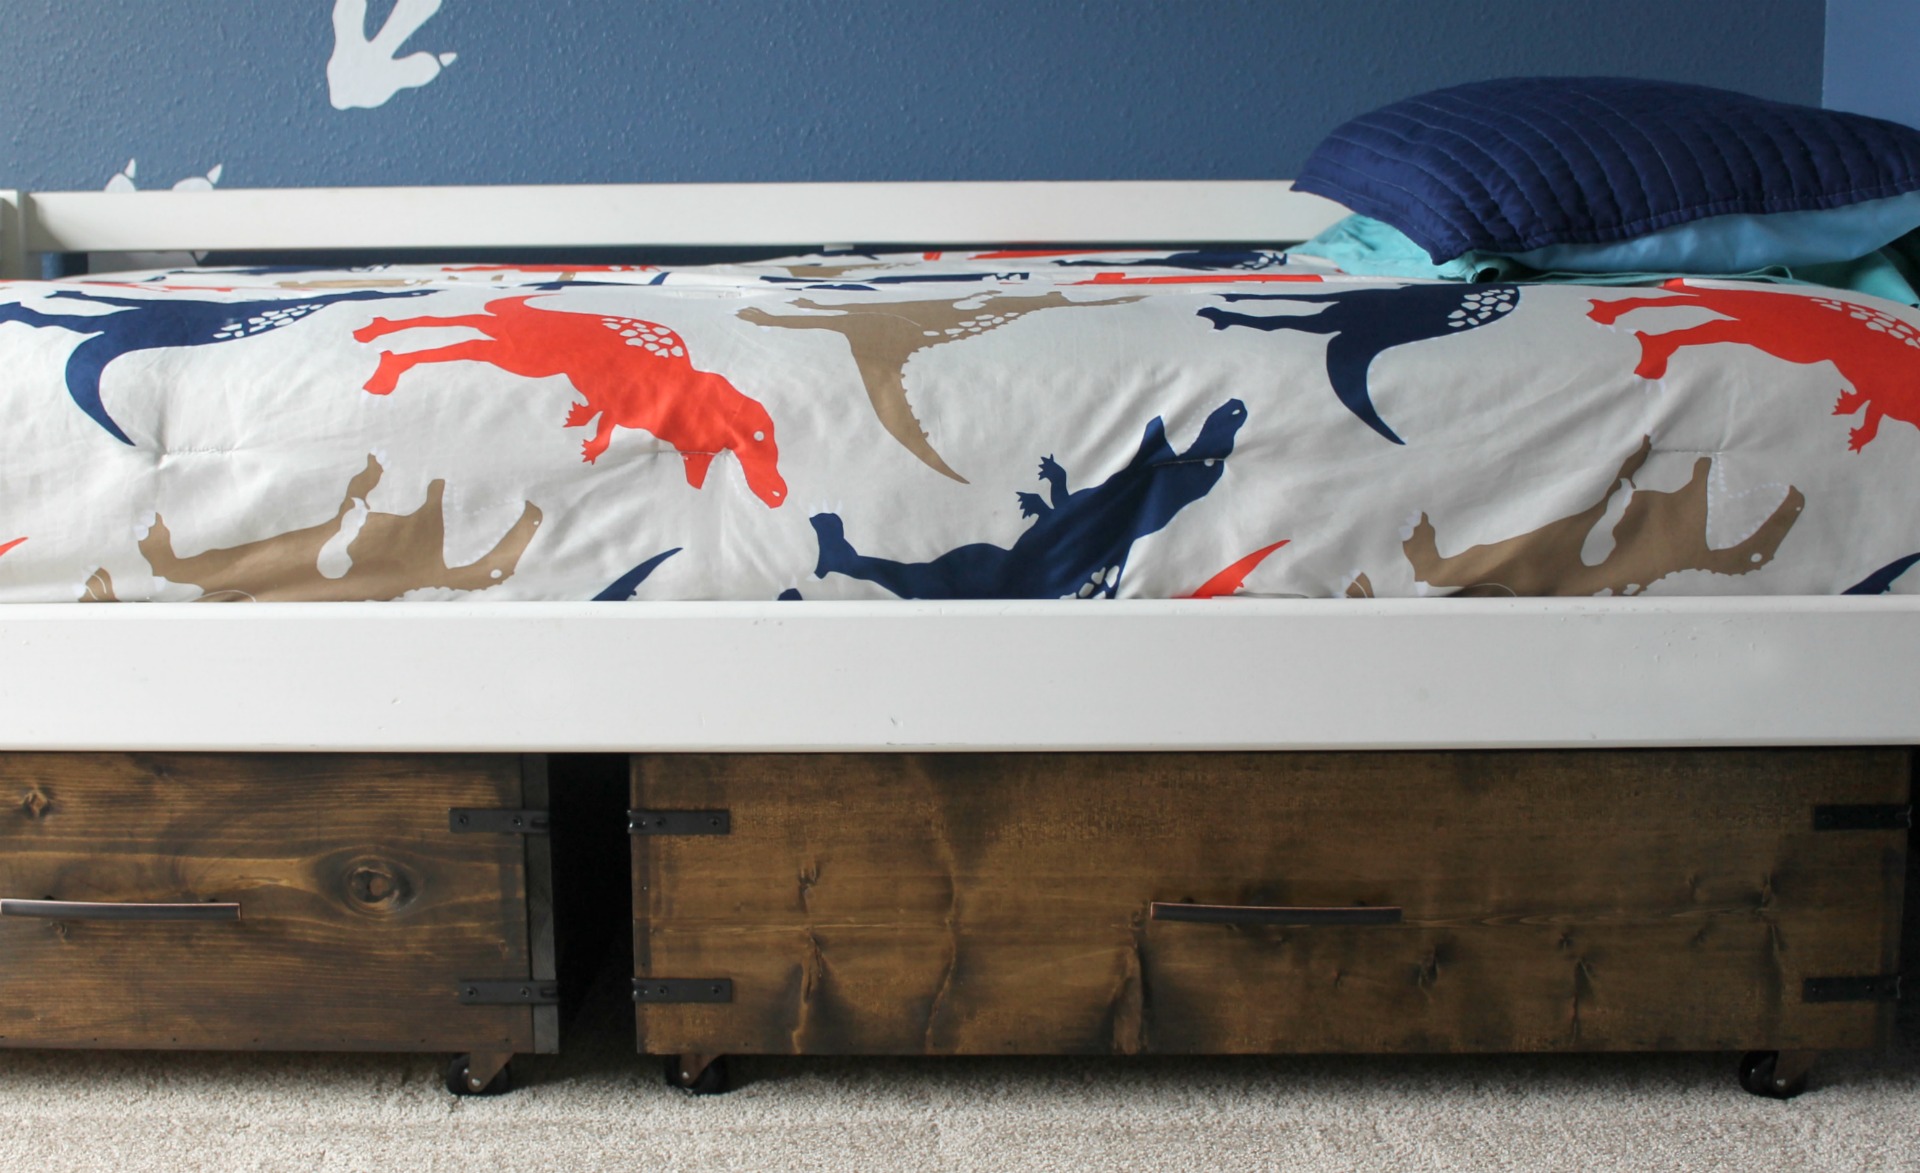
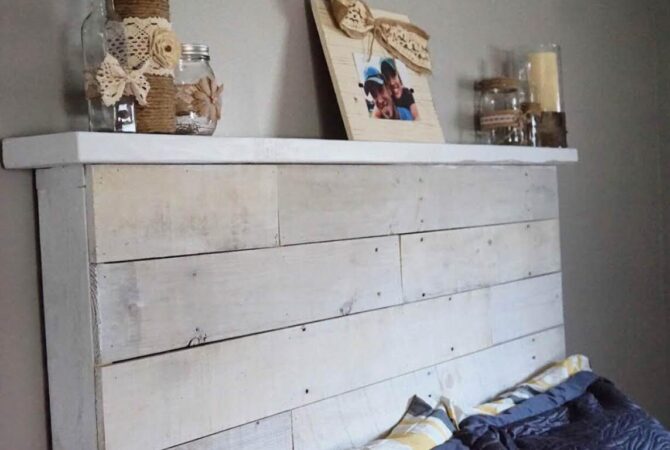
Utilize the Built-in Shelving
Don’t forget to put the space at the top of your DIY wood headboard to good use! In addition to allowing you to show off some of your favorite items, this shelf space is also a practical way to add storage to your bedroom. Set out a few framed photos of family and friends. Incorporate some vases for flowers, or line up succulents and small plants for an urban jungle feel. Mix and match a variety of antique or vintage trinkets. Or display some of your favorite books and other small objects!
Personalize It with Paint
Want to transform your teen’s bedroom or make your DIY headboard stand out? One of the most creative headboard ideas is to use stencils or freehand painting to create a design that reflects your style and personality. Choose a bold design for a statement piece, or opt for jewel tones and soft patterns for a more bohemian look. If you’re a fan of the farmhouse style, try using white chalk paint and distressing techniques for a more weathered appearance. Or consider personalizing your headboard with a monogram or meaningful phrase!
***
Need more space to build DIY projects at home? Extra Space Storage has storage facilities throughout the U.S.—as well as amenities like workshop units—to help. Find a storage unit near you today!