Installing laundry room cabinets to make a space both functional and stylish is easier than you think. This guide offers step-by-step guidance and helpful tips to ensure a smooth and successful project. Keep reading for laundry room cabinet installation, customization, and decor tips!
Supplies Needed:
The following materials listed will help you upcycle a cabinet for your laundry room. We encourage you to adjust this supply list as needed to create your desired look and amount of cabinet sets.
- Cabinets (new, repurposed, or thrifted)
- Tape measure
- Ladder
- Level
- Stud finder
- Drill & drill bits
- 2.5″ wood screws
- Cabinet hanging rail (if cabinets don’t have them)
- Safety protection (e.g., safety glasses, dust mask, gloves, etc.)
- Crowbar (if removing existing shelving)
- Drywall anchors (if not attaching to studs)
- Sander (if refinishing)
- Paint or stain (if refinishing)
- Rags (if staining)
- Paint roller & brushes (if painting)
- Trim (optional)
- Optional: Trim (including trim nails or finishing nails, & use of a miter saw)
- Optional: Caulk
- Optional: Wood filler
Use caution when using power tools. Follow all manufacturer’s instructions and wear proper safety gear. There will be scrap wood left over from some of these cuts.
How to Install Laundry Room Cabinets
While the thought of DIY cabinet installation might seem daunting, with the right planning and a little elbow grease, you can create a custom look that perfectly suits your laundry room’s needs and aesthetic!
Step 1: Plan Your Project
Before installing cabinets for your laundry room, take time to plan and prepare your workspace. First, consider your storage needs—what items do you plan to keep in your laundry room? Measure the available space, noting the dimensions of your walls and the placement of your washer and dryer. Sketch out a rough design to determine the size and number of cabinets you’ll need. Be sure to gather the necessary supplies and take proper safety precautions before starting your DIY laundry room renovation. Then, ask yourself the following questions to ensure you’re ready to begin:
- Do I have all the tools I need on hand, or do I need to borrow or buy new equipment?
- Should I adjust the supplies list to customize the project to my preferences?
- Is my workspace big enough to do this project safely?
- How long will this project take me to finish?
Step 2: Finish Your Cabinets
 For a polished, cohesive look, refinish your cabinets before installation if you can’t find them new in your desired finish. This may include sanding, staining, or painting, and it’s best done before hanging. For a professional-quality result, remove the cabinet doors and use a foam roller or precision brushes to apply paint or stain to the doors, cabinets, and any accompanying trim. Allow everything to dry completely before reattaching the doors—we recommend waiting until the cabinets are installed to do this.
Step 3: Find Studs & Mark Cabinet Placement
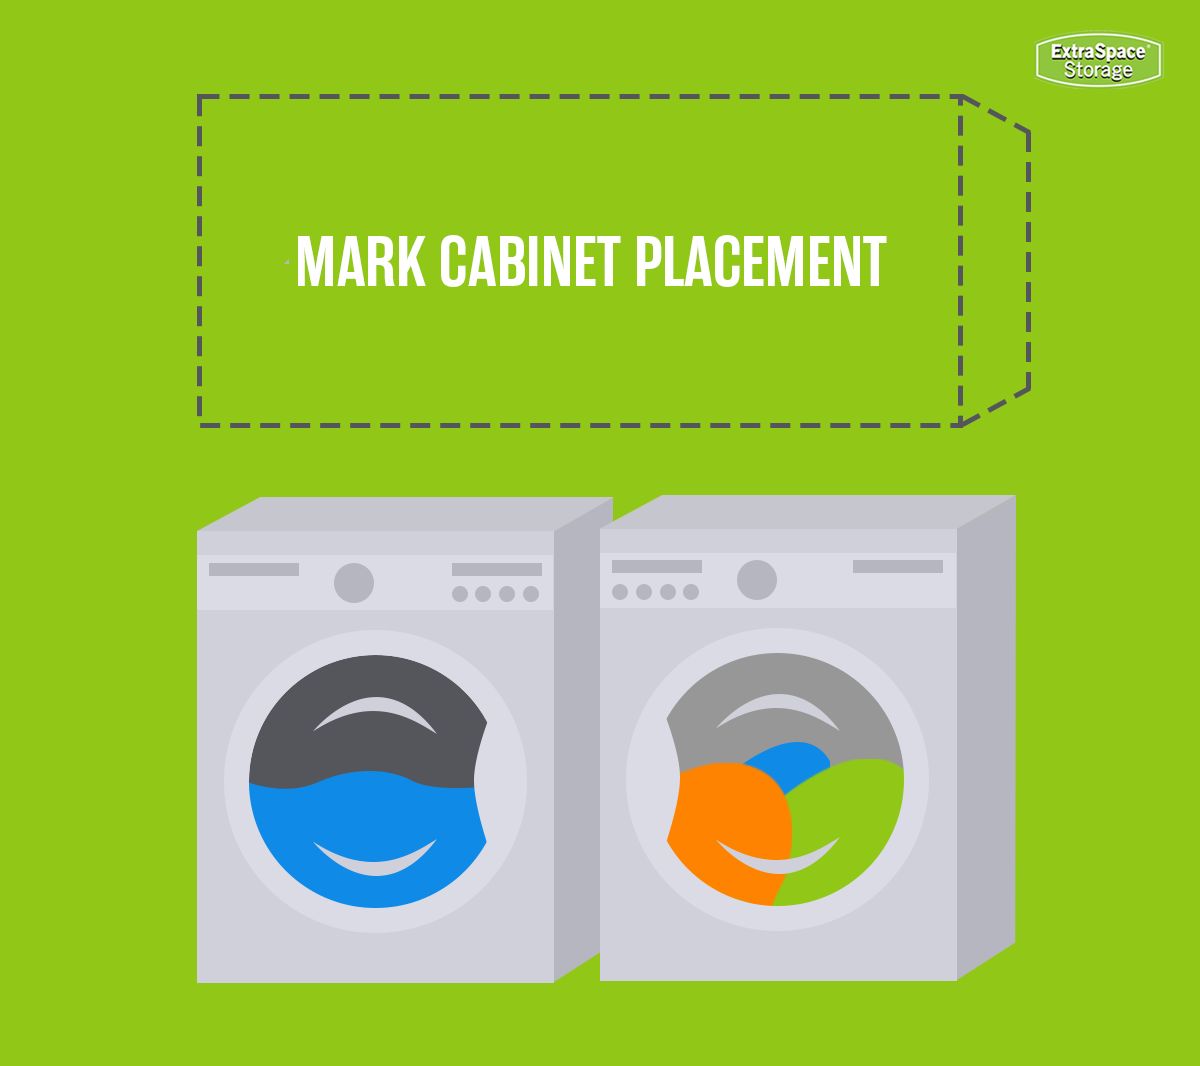 Before installing cabinets, prep the wall by carefully removing any existing shelving with a crowbar. Proper cabinet placement is essential for both functionality and aesthetics, so take your time when determining where to install them. If possible, maximize vertical space by positioning cabinets closer to the ceiling, leaving enough room at the top if you plan to add trim or crown molding later. Then, follow these key steps:
- Locate and mark wall studs using a stud finder—drilling into at least two studs per cabinet provides the strongest support.
- If you must drill into a spot without a stud, install a drywall anchor to help support the cabinet’s weight.
- Mark cabinet placement by using a level to measure and draw a straight line indicating the bottom of the cabinet. Then, measure and mark a second line for the top of the cabinet to guide positioning.
- Ensure adequate clearance for your washer and dryer—upper cabinets are typically 12-14″ deep and should be positioned at least 18″ above the appliances.
Step 4: Hang the Laundry Cabinets
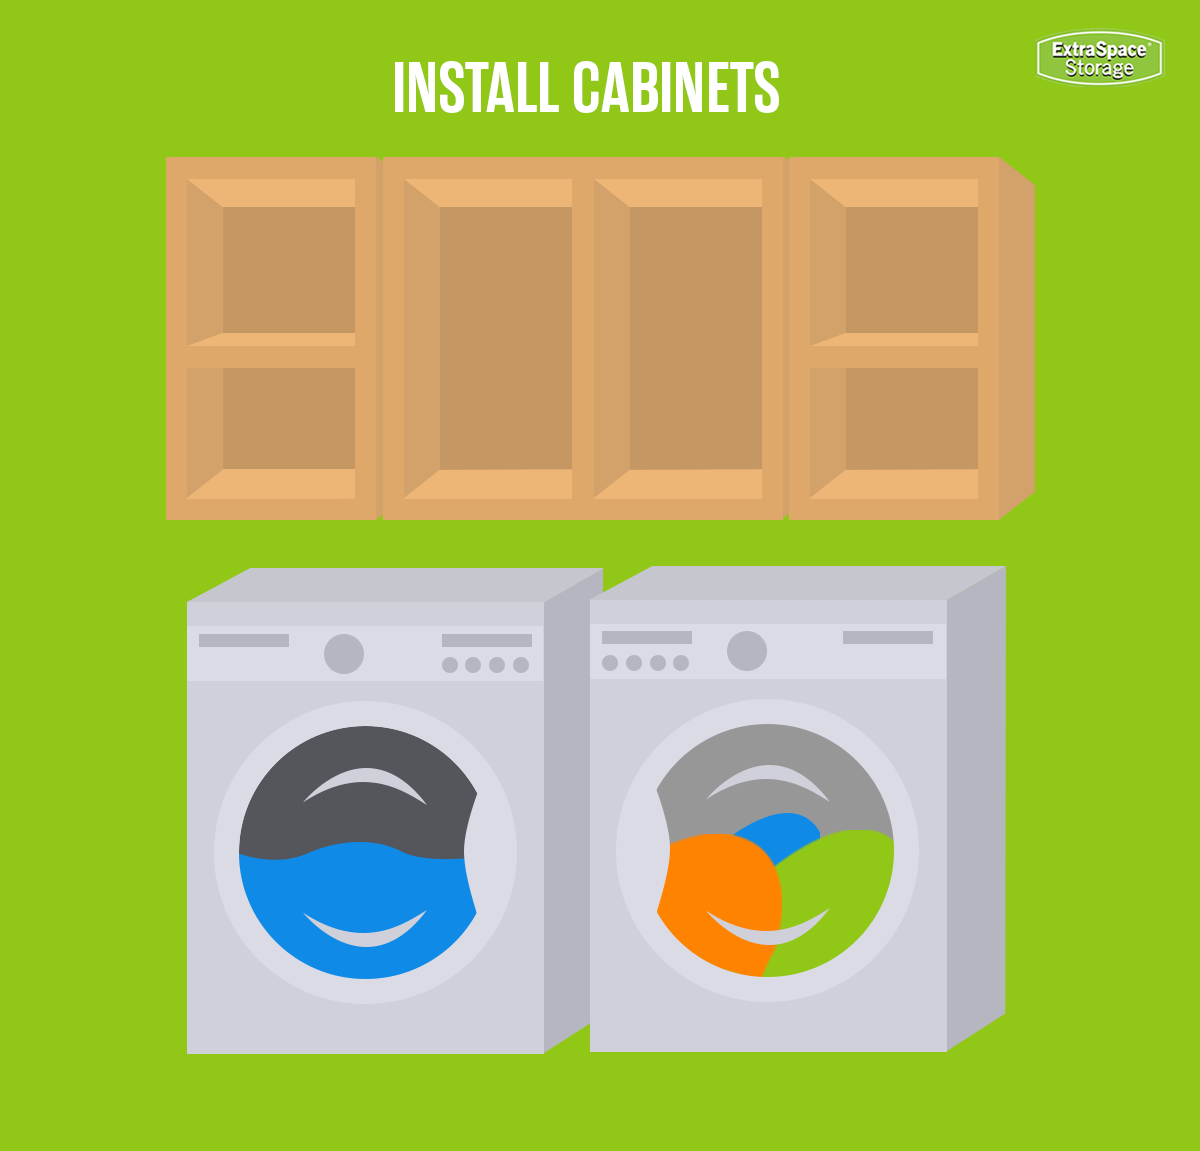 Hanging a cabinet typically requires three people for optimal precision and stability. Before installation, double-check your measurements to confirm proper alignment. Then, follow these steps to hang each cabinet:
- Center the cabinet horizontally, aligning the top with the marked line from Step 3.
- Have two people hold the cabinet level while the third drills pilot holes through the cabinet’s hanging rail and into the wall studs.
- Using 2.5″ wood screws, drive screws through the pilot holes and into the studs, starting at the top and ensuring the cabinet remains level. Avoid over-tightening.
- Test the cabinet’s stability by applying gentle downward pressure to confirm that it’s securely mounted.
Step 5: Attach the Doors & Trim
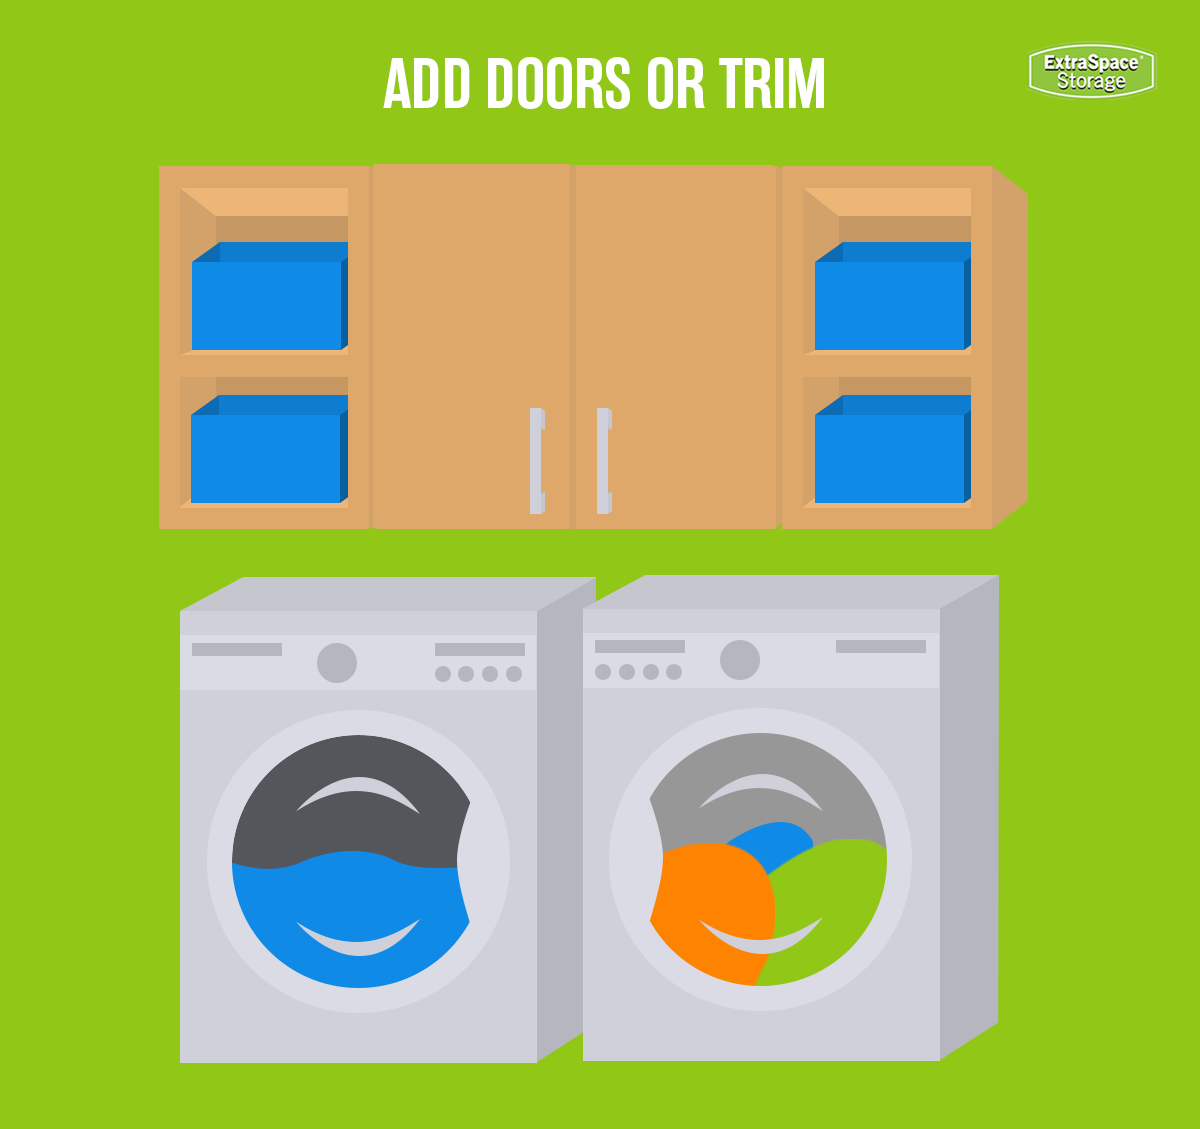
While many cabinets come with pre-attached doors, it’s often easier to hang the cabinets without the doors and attach them afterward. For a more polished look, consider adding trim—including crown molding—as an optional step. Here’s how to do it:
- Measure the areas where you’d like to install trim.
- Using a miter saw, cut the trim pieces to the correct lengths. Ensure the corners—where the side and front trim meet—are cut at a 45° angle for seamless assembly.
- Attach the trim to the cabinet, securing it with trim nails or finishing nails.
- Caulk any gaps at the ceiling and fill nail holes with wood filler for a smooth, professional finish.
Decor Tips For DIY Laundry Room Cabinets
Your laundry room deserves some accessorizing! Whether it’s a small space or a large room, there are many solutions for sprucing up your new laundry room cabinets.
Add Wallpaper
Wallpaper is a popular home decorating idea that can be used in a variety of ways to make laundry cabinets stand out. It can also serve as a focal point in a room that often lacks statement decor. Whether your style is bold, calming, or modern, wallpapering cabinets lets you express yourself in this functional space. Consider applying wallpaper inside the cabinets or on the fronts of the doors for added stylish detailing.
Be Playful With Hardware
Experimenting with cabinet hardware is an easy way to upcycle furniture and cabinets, instantly adding personality to a laundry room remodel. Consider antique brass, brushed nickel, or even ceramic knobs with whimsical designs. Mismatched pulls can add a playful touch, while oversized or sculptural options can make a statement. The right hardware can transform plain cabinets, adding elegance, whimsy, or industrial flair. Don’t underestimate the power of small details—the right hardware can make a big difference in your laundry room design.
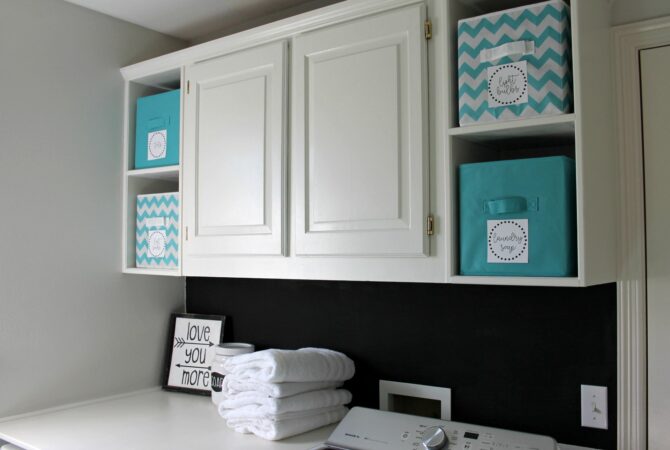
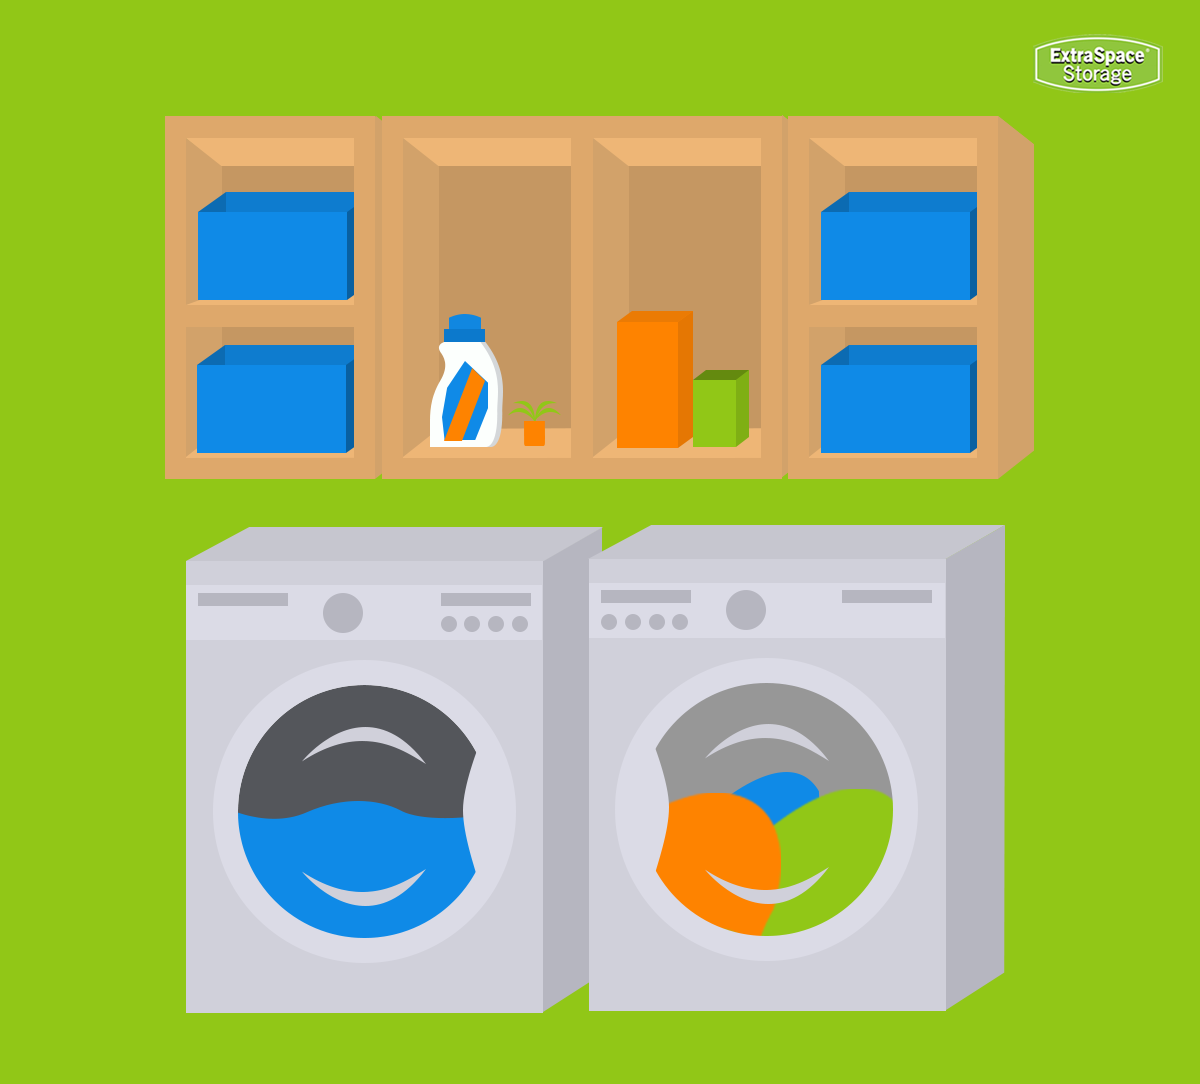
Organize With Jars & Baskets
Adding jars and baskets to your cabinets not only improves laundry room organization but also offers an opportunity to personalize the space. Clear glass jars can stylishly store essentials like detergent pods, clothespins, or dryer sheets, providing an apothecary-like feel when you open your laundry room cabinets. Woven baskets in various sizes and textures can contain everything from cleaning supplies to extra towels, bringing warmth and texture to the room. Labeling these containers with elegant calligraphy or rustic tags adds a personal touch while keeping everything easily identifiable. Beyond functionality, selecting jars and baskets that complement your personal style—whether it’s modern, farmhouse, minimalist, or bohemian—can make laundry day a little more enjoyable.
Explore Bold Colors
Painting your laundry room cabinets in bold hues is a great way to add a pop of color to your home. When choosing paint colors, think about your design style and the atmosphere you want to create—mood-boosting shades like lilac or mint green can foster a calm, serene vibe, while bolder reds or blues can add energy and create a striking focal point. Consider color drenching, the technique of saturating a space with one dominant color, to minimize visual clutter. Color drenching can be especially beneficial in a small laundry room, as the continuous flow of color can make the room appear larger than it actually is.
Enhance Lighting
Looking for a quick weekend home improvement project? Updating cabinet lighting is a simple way to elevate a DIY laundry room, transforming it into a luxurious yet practical space. Strategically placed LED strip lighting underneath wall cabinets can brighten countertops for better visibility while you work, adding a touch of modern elegance. And interior cabinet lighting, activated by door sensors, makes finding items easier and highlights the beauty of custom shelving and organization.
***
Need storage solutions to free up space while you work on your DIY projects? Extra Space Storage has thousands of storage facilities throughout the United States. Find self storage near you!