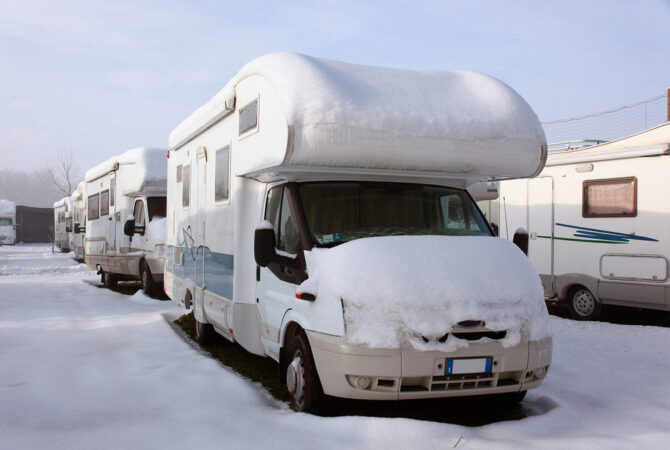
Need to prep your RV for winter storage? Winterizing your RV is important for keeping its interior and exterior safe during the colder months. Though there are many different types of RVs, most winterization tips will work for campers, travel trailers, and motorhomes alike. Follow these RV winterization steps to help prevent costly repairs and make it easier to get back on the road when spring comes!
Gather RV Winterization Supplies
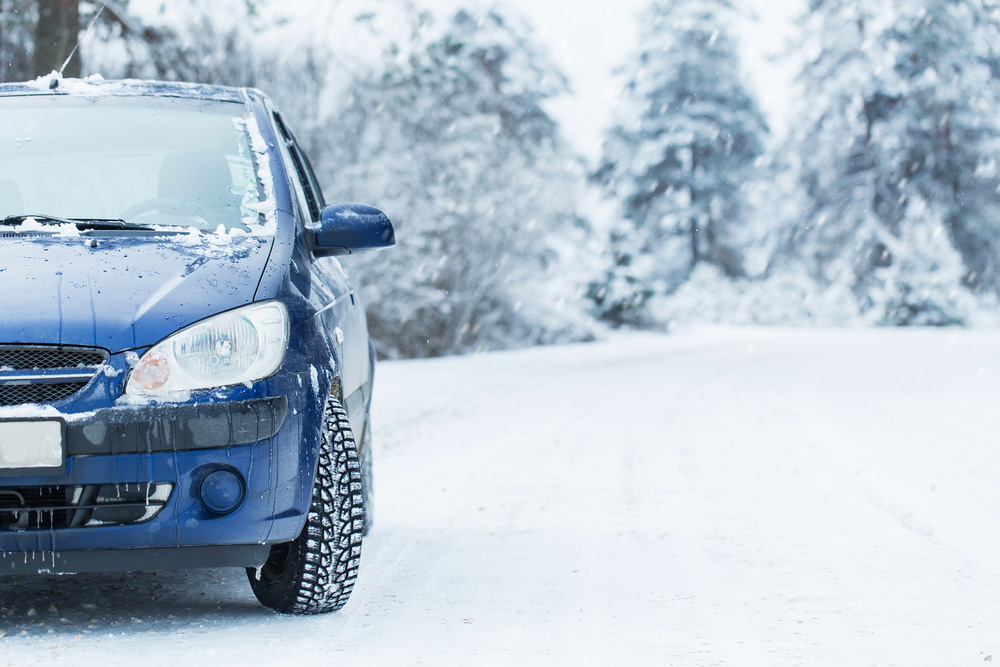
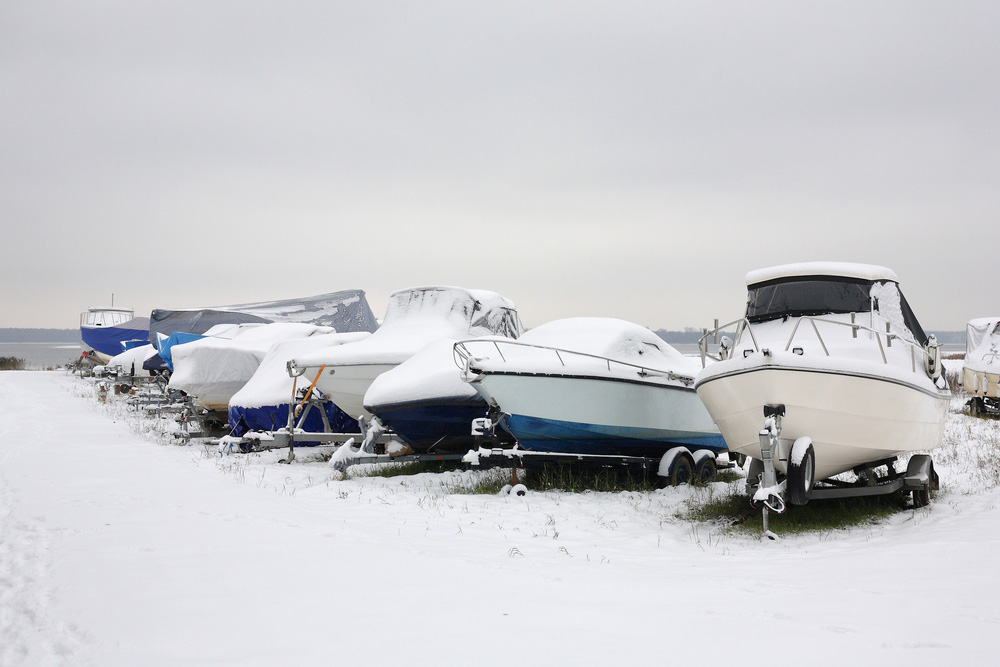
As with winterizing a car, motorcycle, jet ski, or boat, gathering all the supplies needed for RV winterization is essential to getting the job done in a timely manner and ensuring your vehicle is ready to go next season. It can also be helpful to have a few basic tools on hand—like a screwdriver, socket wrench, or flashlight—for accessing panels or plumbing connections. Your supply list for RV winterizing might vary depending on the model, but generally, here’s what you’ll need for this process:
- RV owner’s manual
- Basic home cleaning supplies
- RV wash & wax supplies
- Moisture absorbers
- Black tank cleaning solution
- Black tank flush nozzle or wand
- Blowout plug
- Air compressor
- Water heater bypass kit
- RV antifreeze (non-toxic, propylene glycol-based)
- Water pump converter kit
- Fuel stabilizer
- Pest traps
- Steel wool
- Standard tool kit
- Tire covers
- RV cover
Check the Owner’s Manual
The best time to start winterizing a camper is before the first freeze of the season, when temperatures are around the low 40s or high 30s. Check your owner’s manual for more detailed instructions on your particular model. Here, you’ll find information on any built-in RV winterization features, how to care for the appliances in your RV, and specific instructions for getting your home on wheels ready for the off-season!
Deep-Clean the Interior
Cleaning your vehicle is the first step to prepare for winter camper storage. By cleaning your RV, you’ll help prevent damage to items while making sure everything is prepared once you’re ready to get on the road again. Follow these steps to clean your RV:
- Clear the fridge and cupboards of all food, liquids, and perishable items.
- Vacuum storage bins and all surfaces to remove any crumbs and help prevent potential pests.
- Take out the trash.
- Remove unnecessary personal items like clothes, video games, and more to prevent potential damage.
- Wash and dry linens and dishes to reduce unpleasant odors.
Wash & Wax Your RV’s Exterior
Wash and wax your motorhome before temperatures drop too low! Cleaning the exterior helps remove dirt and road salt that can cause rust or damage your paint. Applying wax adds a protective barrier against rain, snow, and UV rays—which is especially important if you’ll be using uncovered RV storage.
Clean Awnings
While you’re winterizing your RV, remember to scrub awnings. Unroll any overhangs or covers completely, wash them, and allow them to dry fully before rolling them back up. This can keep mold from forming and prevent damage if any trapped moisture freezes. Have a pop-up camper? Be sure to open, wash, and dry all extendable areas before storing.
Take Care of RV Appliances
Inspecting and protecting appliances is a must-have on your motorhome or travel trailer winterizing checklist! Remember to check your owner’s manual for any specific instructions for preparing appliances for storage—but these general steps will get you started:
- Clean all appliances to limit bad odors.
- Defrost your fridge and ice makers to prevent them from freezing and damaging water lines—this step will likely take anywhere from a couple hours to a couple days depending on your units.
- Use non-toxic propylene glycol-based RV antifreeze for your refrigerator’s drain pump.
- Add antifreeze to your model’s ice maker and dishwasher systems if called for in your manual.
- Prop your fridge and freezer open to help prevent mildew growth.
- Place moisture absorbers—like silica beads, activated charcoal, or baking powder—inside appliances to reduce humidity and odors.
Drain All the Tanks
One of the most important steps to winterizing a trailer is to clear out its water system. Here’s how to drain RV tanks:
- Switch off the RV’s electricity, gas, and propane.
- Disconnect the external water source.
- Open the petcock to drain the freshwater tank of its water.
- Turn off the water heater, and once it has fully cooled, drain it through the valve or drain plug.
- For both hot and cold lines, open the low-point drains to release any water left in the plumbing.
- Go to an RV dump station to empty the black and gray tanks via the gate valves. Then, sanitize the tanks using the vehicle’s built-in cleaning system (if available) or by cleaning them manually.
Run Hot & Cold Faucets
Once all tanks are drained, open your faucets, shower heads, and outdoor spigots, and flush the toilet a few times. This helps release any leftover water in the plumbing lines and creates an open path for air to flow through the system. The drier your lines are at this stage, the more effective the RV antifreeze will be at protecting your pipes.
Blow Out RV Water Lines
Blowing out your RV’s water lines is an optional step, but it helps clear any remaining water that may still be in the pipes after draining the tanks and running the faucets. Here’s how to blow out RV water lines:
- If your camper doesn’t have a blowout plug, attach a compressed adapter to the water intake line.
- Blow out the water lines using an air compressor set at 30-40 PSI. Don’t exceed 50 PSI—anything higher could cause damage to internal systems.
- Once no more water is coming out, close petcocks, valves, and drains, and turn off any faucets.
Bypass the Water Heater
Bypassing your RV’s water heater keeps antifreeze from filling the tank, saving you several unnecessary gallons. Some RVs include a built-in bypass, but if yours doesn’t, you can install a temporary external kit for winterization. Once the bypass is in place, make sure the water heater valves are closed so antifreeze doesn’t enter the tank.
Add RV Antifreeze
RV antifreeze, recognizable by its pink color, helps prevent pipes and tanks in your motorhome or travel trailer from freezing in the winter. Check your owner’s manual for specific instructions, then follow these basic steps to add RV antifreeze to your vehicle:
- Take out the water filters to prevent the antifreeze from damaging them.
- Push the antifreeze through your systems using a water pump converter kit or a camper antifreeze hand pump.
- Run each fixture one at a time (turn on hot and cold faucets) until you see the antifreeze flow through.
- Flush the toilet until you see the pink antifreeze start to fill the bowl.
- Pour a small amount (around a cup) of antifreeze directly into each sink and shower drain so the P-traps won’t freeze.
Protect the Battery
Proper RV battery maintenance helps protect your motorhome so it’s ready to go once winter ends! Since batteries left in place can freeze, the safest option is to remove them, clean the terminals, and store the batteries in a safe, dry place. While in storage, use a maintenance or trickle charger to keep them from self-discharging and to extend their service life. If you plan to start your motorhome monthly instead, you can leave the batteries installed and plug your RV into a 120-volt external power source (shore power) for about eight hours each time.
Winterize Your RV’s Fuel & Fluids
Before moving your vehicle into long-term RV storage for the winter, take a few steps to protect your vehicle and engine:
- Fill the gas tank almost to full to minimize condensation inside the tank.
- Add a fuel stabilizer to prevent gasoline from breaking down and damaging the engine.
- Change the oil and filter to help prevent engine damage during storage.
- Top off brake, transmission, and winter-grade windshield washer fluid, and check engine coolant/antifreeze levels to help protect your vehicle during storage and make spring startup easier.
Safeguard Your RV Against Moisture, Drafts, & Pests
Before winter storage, take these steps to keep your RV safe from leaks and unwanted visitors:
- Check the roof, windows, and doors for cracks or gaps. Re-caulk around door jams and window seals to prevent drafts, leaks, and insects.
- Protect vents, pipes, and other openings with aluminum foil or steel wool to keep rodents and insects out.
- Set traps for mice or other small rodents, and consider using rodent repellent for additional protection.
Protect the Tires
Recreational vehicles weigh a lot, and leaving them sitting on concrete all winter can create flat spots in tires and could potentially do permanent damage to your rims. Here’s how to protect RV tires and keep them street-ready:
- Put wood or a material that doesn’t freeze easily below the entire length and width of your tires.
- Check your owner’s manual, the inside of the driver-side door, or directly on your wheels for the suggested PSI, and fill your tires with air accordingly.
- Add covers to tires to protect them from the elements if your vehicle is being stored outdoors.
Store Your RV Safely for Winter
Once your RV is winterized, the last step is deciding where to keep it safe until you’re ready to use it again. The right RV storage option depends on your budget, RV type, the region you live in, and the level of protection you want.
Indoor RV Storage Options
- Garage Storage: If you have a toy hauler or camper that fits in your garage at home, this is the most convenient and affordable option for winter vehicle storage.
- Indoor Storage Unit: If you want to free up space at home, renting a large drive-up storage unit at a self storage facility will keep your small camper secure and out of the elements, providing peace of mind.
Outdoor RV Storage Options
- Parking in a Driveway: If your neighborhood doesn’t have any HOA rules against parking an RV in your driveway long term, this is a free way to store your trailer for the off-season. Use an RV cover to help protect your vehicle from the elements.
- Uncovered Storage Unit: An uncovered parking space at a secure storage facility is one of the most affordable vehicle storage options for your RV, and adding an RV cover provides additional protection.
- Covered Storage Unit: Though not totally enclosed, a covered parking space at a self storage facility provides some level of protection from the elements.
Hear what Extra Space Storage customers have to say:
***
Find Winter Storage for Your RV Near You
Looking for indoor, covered, or outdoor storage for your RV? Extra Space Storage has convenient storage facility locations throughout the U.S. Popular cities for RV storage include:
- RV Storage in Berkeley, CA
- RV Storage in Littleton, CO
- RV Storage in Meriden, CT
- RV Storage in Joliet, IL
- RV Storage in Foxboro, MA
- RV Storage in West Jordan, UT
Find a storage facility near you today!