Moving Guide
9 Steps to Pack Small Kitchen Appliances for Moving
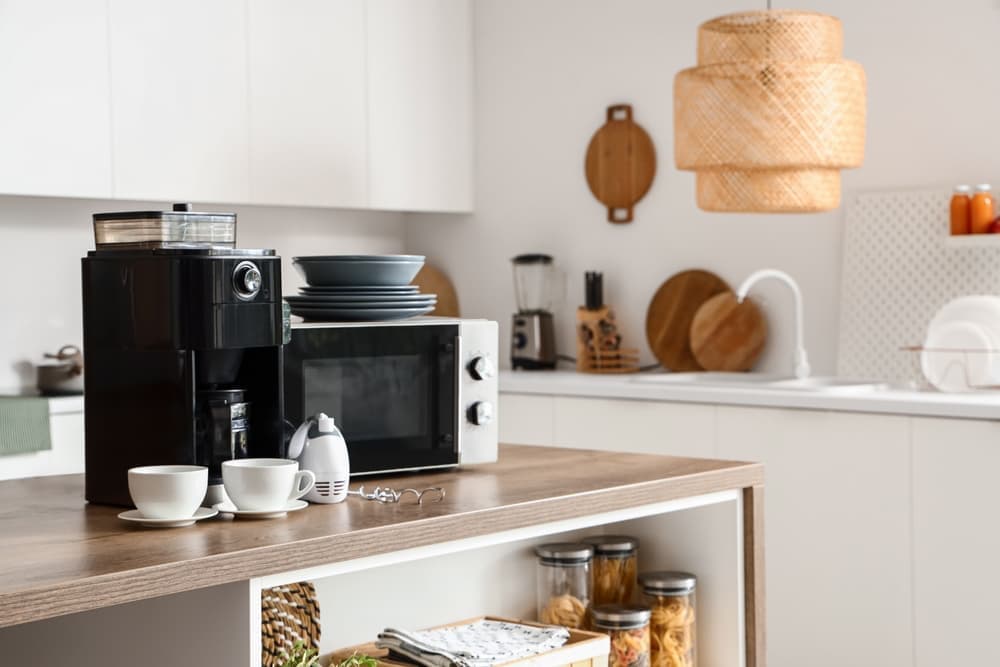
Moving to a new home often means tackling the kitchen—one of the trickiest rooms in your room by room packing checklist. Small kitchen appliances like coffee makers, blenders, toasters, and microwaves can be oddly shaped and fragile, with multiple pieces that need careful handling. This guide will walk you through the nine steps for packing small kitchen appliances.
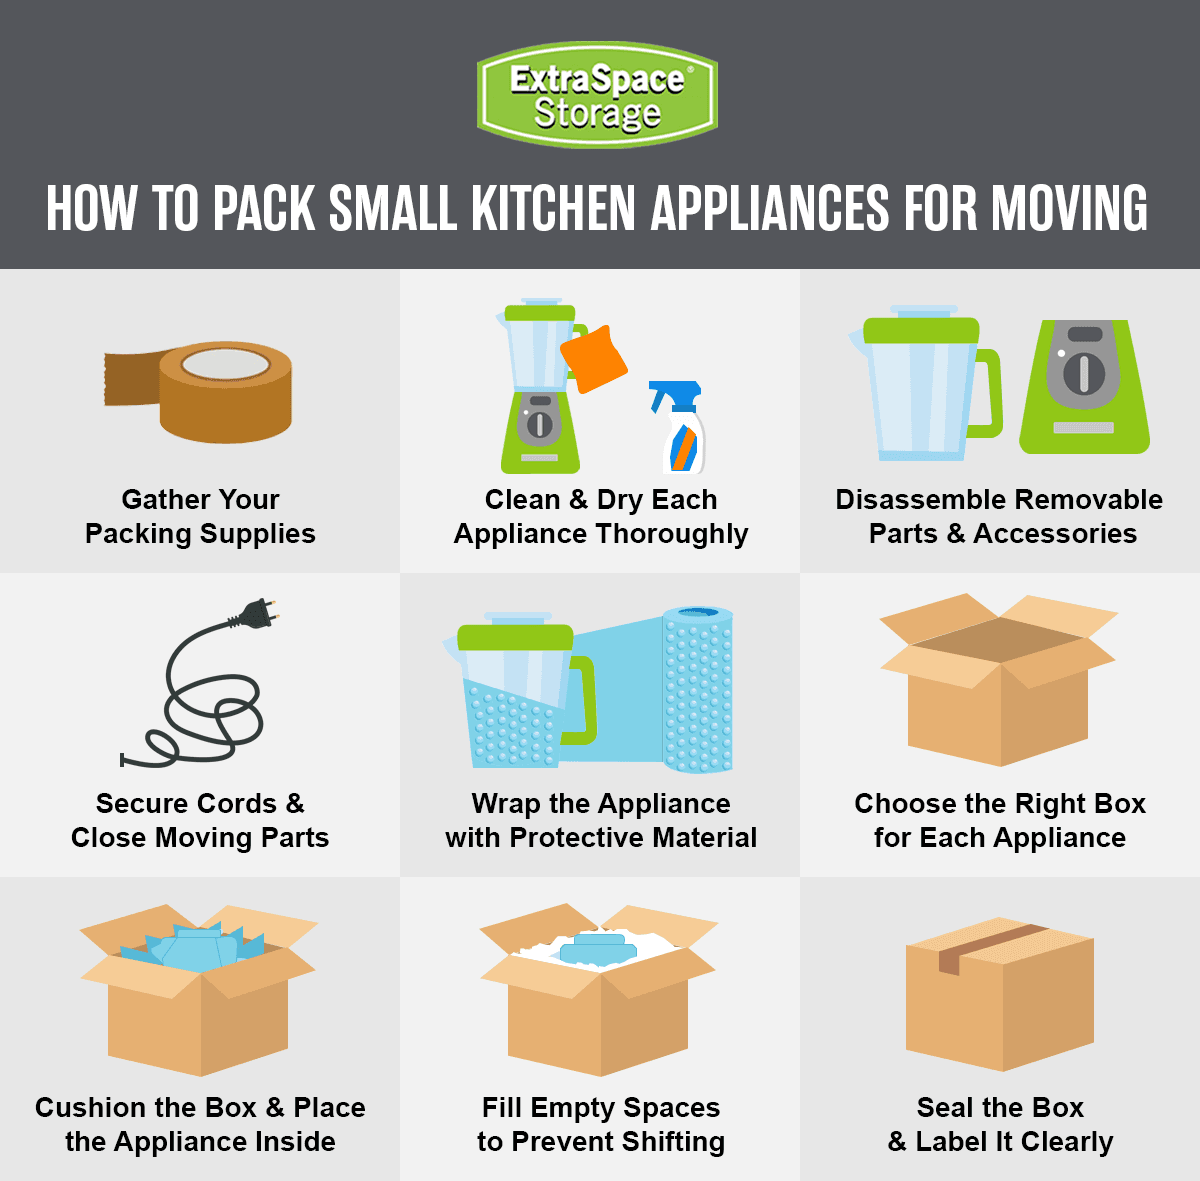
Step 1: Gather Your Packing Supplies
Before you begin, make sure you have all the necessary packing materials on hand. Being prepared with the right supplies will make the process go smoothly. Here’s what you’ll need to pack small kitchen appliances safely:
Sturdy moving boxes: Choose small or medium-sized
that are just big enough for each appliance, or the original boxes for your appliances.
Packing paper: Have plenty of packing paper or unprinted newsprint for wrapping appliances and filling empty spaces.
Cushioning materials: In addition to packing paper, gather bubble wrap, packing peanuts, foam inserts, old dish towels, kitchen towels, or even moving blankets to pad boxes and fill gaps if needed.
Packing tape: High-quality packing tape will be your best friend during a move. You can use it to seal boxes, secure wrapping, and reinforce the bottom of boxes with extra tape so the box doesn’t break open during transport.
Twist ties or zip ties: These are handy for bundling up the electrical cords of your appliances. If you don’t have twist ties, you can use rubber bands or painter’s tape to keep cords coiled and secured.
Resealable plastic bags: Keep some zipper bags on hand to hold small parts, screws, or appliance accessories, and avoid losing small items during the move.
Permanent marker: Have a marker or pen on hand to clearly label your boxes once packed.
Step 2: Clean & Dry Each Appliance Thoroughly
Before packing small kitchen appliances, take time to clean them inside and out. This means removing any crumbs, grease, food residue, liquids, and oils from appliances like toasters, blenders, and coffee makers. This can help prevent messes in moving boxes and keep pests away during the move. After cleaning, make sure every appliance is completely dry. Dampness trapped during packing can lead to mold or mildew, especially if the boxes will be in transit or storage for a while. Wipe all surfaces with a dry cloth and let appliances air out until totally dry.
Step 3: Disassemble Removable Parts & Accessories
Next, remove any loose or detachable parts from each small kitchen appliance. If a part is easy to remove, fits loosely, or moves freely, it should be packed separately rather than left attached. You should also remove batteries before packing small kitchen appliances and store them separately, as they can corrode due to high heat and other factors. Common examples of other removable parts include:
The glass turntable tray inside a microwave (and the roller ring beneath it)
Blender jars, blades, and lids
Food processor bowls, blades, and pushers
The carafe (glass pot) and filter basket from a coffee maker
Mixing bowls and attachments from a stand mixer
Crumb trays from toasters or toaster ovens
Lids from slow cookers or pressure cookers
Keep the disassembled parts and any instruction manuals together with the appliance so nothing gets lost. If you have any smaller screws or attachments, a great packing tip is to place them in a small plastic bag and tape it to the appliance. If you're worried about assembling everything correctly at your destination, take photos while disassembling for reference.
Step 4: Secure Cords & Close Moving Parts
Once the appliance is cleaned and disassembled, secure any moving pieces and cords before packing the small kitchen appliance. Coil cords neatly and use a twist tie, rubber band, or piece of tape to keep them coiled. For added protection, wrap the cord in a bit of packing paper so the plug or cord edges don’t scratch the appliance. If the appliance has doors or covers that could fall open (like a toaster oven door or air fryer basket), tape them shut.

Find Affordable Self Storage Near You
Extra Space Storage has over 4,000 locations across the U.S. with friendly customer service, advanced security features, and affordable month-to-month rates.
- Save up to 50% off online
Step 5: Wrap the Appliance with Protective Material
Before packing small kitchen appliances for moving in a box, you will want to carefully cover the appliance in packing paper or bubble wrap to protect it. Wrap everything in multiple layers—two to three layers is a good rule of thumb—and wrap any removable parts separately. Use enough paper to cover all sides, and stuff paper into crevices to fill in gaps. You can also add a layer or two of bubble wrap around especially fragile items and appliances for extra padding. Secure the wrapping with tape so it doesn’t unravel. If your small kitchen appliance has sharp blades or edges (like a food processor or blender blade), wrap the blades carefully in paper, then place them in a tight box or container, so the sharp edges don't have space to move around and cause cuts.
Step 6: Choose the Right Box for Each Appliance
Choosing an appropriate moving box is key when packing a small appliance for moving. If you happen to have the original packaging for an appliance, use that. Otherwise, select a box that's as close to the size of the appliance as possible, while still allowing a little room for cushioning. A box that’s too large can lead to the appliance sliding around, while a box that’s too small won’t accommodate protective materials. Small kitchen appliances generally fit well in small or medium moving boxes. Pick a sturdy corrugated box that gives about an inch or two of extra space on all sides of the appliance for padding. Avoid packing multiple kitchen appliances together in one box, and reinforce the bottom of the box with extra tape to prevent the box from breaking.
Step 7: Cushion the Box & Place the Appliance Inside
Before placing the wrapped kitchen appliance into the box, prepare the box with a cushioning layer. Use crumpled packing paper, packing peanuts, or a dish towel or two to create a soft padding on the bottom of the box. A padded bottom helps absorb bumps during transit, protecting the appliance from any knocks or drops. Once the box is ready, place your small kitchen appliance inside upright as it would normally sit on a counter. Then, add the wrapped accessories or parts into the box around or on top of the appliance. Place heavier components at the bottom and lighter ones toward the top. Make sure nothing heavy is positioned in a way that it could shift and hit another fragile part.
Step 8: Fill Empty Spaces to Prevent Shifting
With the small kitchen appliance and its parts in the box, you’ll likely see some gaps. Fill empty space with cushioning material so that nothing can move around when the box is jostled. Movement inside a box is what causes the most damage, so your goal is to immobilize the contents. As you fill, pay special attention to protecting any fragile parts, especially glass components. Nothing hard should be directly against a breakable piece without paper or bubble wrap in between. However, don't overdo it—the box should be able to close comfortably without any bulges. Once you think the box is well-padded, gently shake the box to test. You shouldn’t feel or hear the appliance thudding or shifting. If you do, add more cushioning wherever there’s movement.
Step 9: Seal the Box & Label It Clearly
After packing your small kitchen appliance, seal it securely. Close the flaps and tape the top of the box with packing tape. It’s best practice to use the H-taping method: apply one strip of tape along the seam where the flaps meet in the middle, and one strip along each of the edges of the flaps, forming an “H” shape across the top. If the appliance is heavy, add a second layer of tape to the bottom for extra strength. Then, clearly label the box with what’s inside, whether it's fragile, and which way the box should be oriented, so the appliance remains upright. Proper labeling will also help ensure the box isn't mistreated during the move and that it gets placed in the correct room at your new home for unpacking.
***
Moving soon? Extra Space Storage can help—with helpful moving guides, packing supplies, and plenty of convenient self storage facilities located around the country to assist with your transition or while you're decluttering before moving. Find a storage facility near you!

Explore More Packing Tips

7 Tips for Labeling Moving Boxes
Moving into a new home? Use this guide for proper labeling techniques to make the moving process easier.
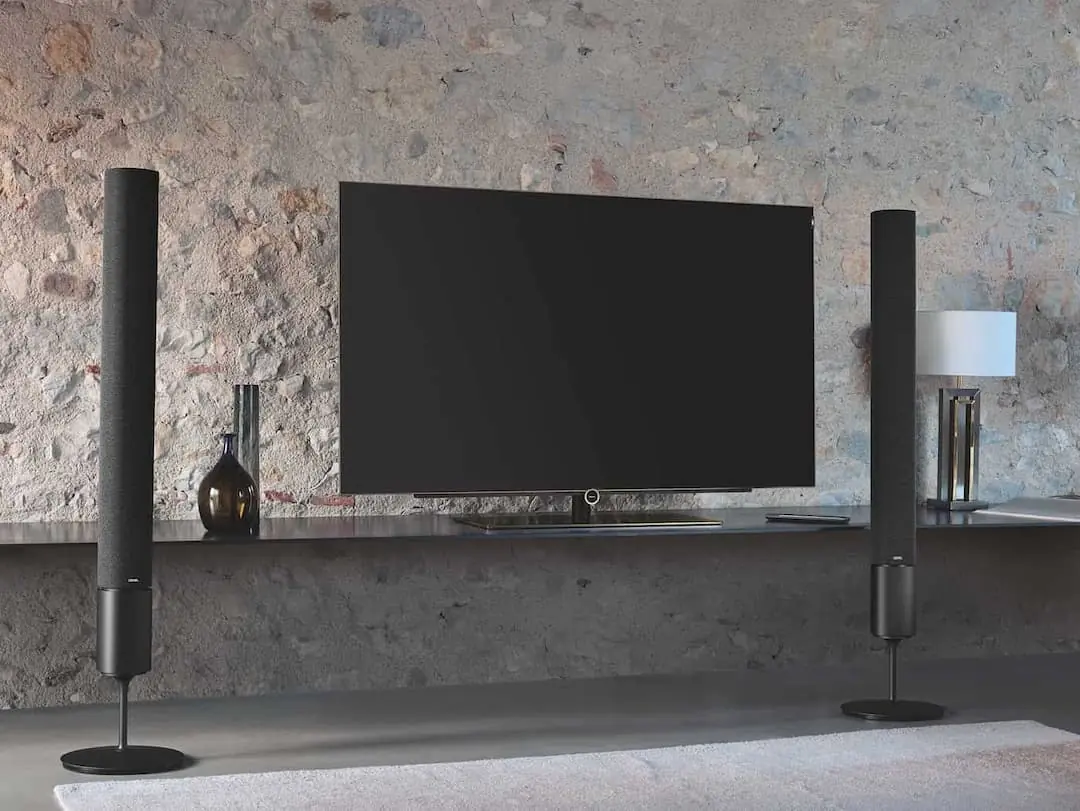
Tips for Packing & Moving a Flat-Screen TV
Moving homes and need to pack a flat-screen TV? Follow this guide on how to securely and safely prepare it for your move.
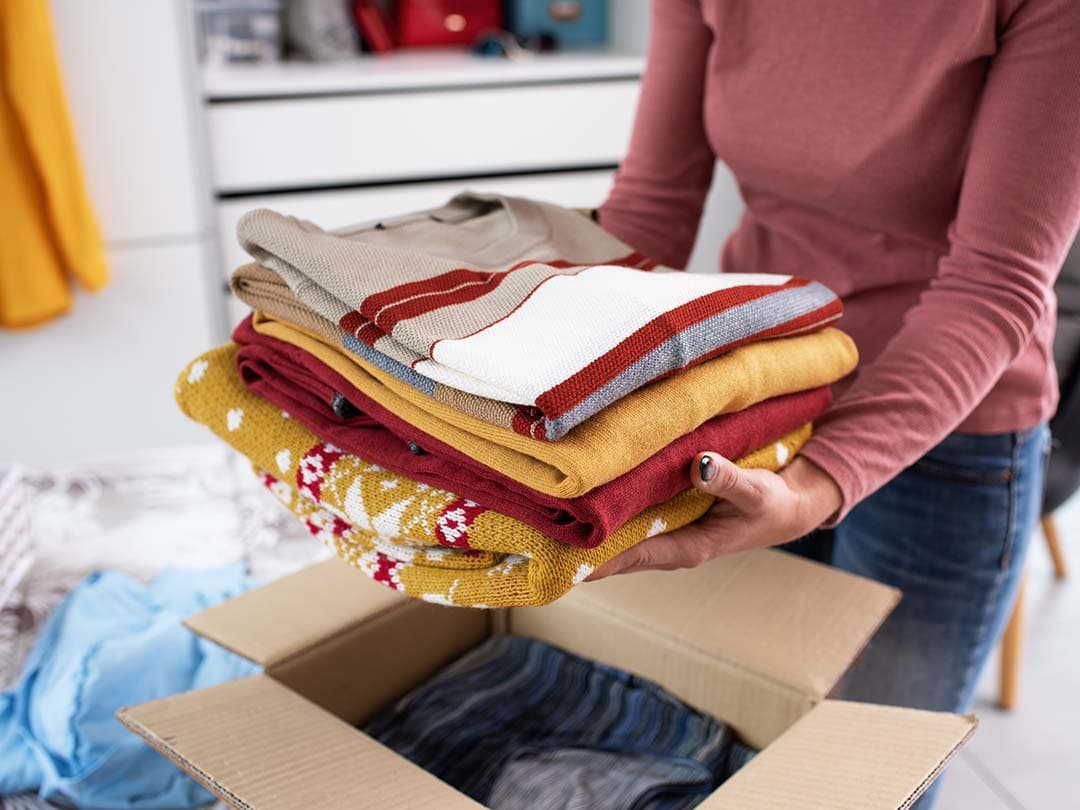
Best Way to Pack Clothes for Moving
Learn the best ways to pack clothes for a move with these expert tips on decluttering, folding techniques, packing supplies, and more.
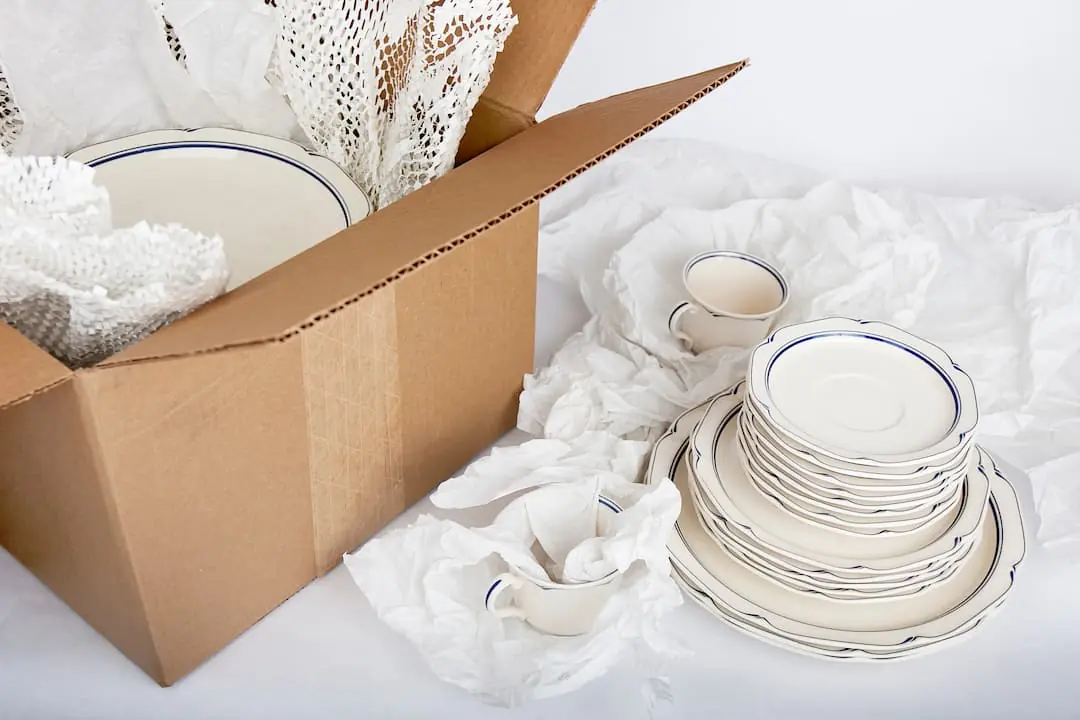
How to Pack Fine China
Need to pack china for storage or moving? Follow these helpful steps to avoid damaging your delicate china.
Room-By-Room Packing Checklist
Make packing for your next move easy with our room-by-room checklist, which includes specific packing tips for each area of your home or apartment!
Author Profile
Quinn Johnson
Quinn Johnson is a moving expert and author for Extra Space Storage. He's moved over 15 times, including internationally, and helped countless others between their own homes. He's happy to lift some boxes for a friend as long as he's paid in pizza. As a writer and content creator for Extra Space Storage since 2019, Quinn shares helpful moving tips and info to alleviate the common stresses of moving.


